Monday, March 31, 2014

Apple Cake with Walnut Streusel Topping + Banana Chocolate Chip Cake with Streusel Topping

     I have posted a lot of cake-like things on the blog over time and to be honest guys, it is because I absolutely love to have tea cakes, frosted cakes, snacking cakes, cupcakes, muffins, (insert any cake substance here) around. I find them to be one of the most enjoyable treats and some of the most relaxing things for me to make. I enjoy the process and the end results. Teacakes can be a wonderful thing, but sometime they are so simple it seems like just a wah-wah type item. However, once you have a truly delicious base for your teacake, it will change your mind on that completely. 
       This base is perfect! My favorite part is the really unique combination of dairy in it that produces the richest, creamiest and lightest of batters. It is to die for! Part buttermilk, stirred in and part whipped cream, folded in is apparently the key to blissful creaminess.  Plus the cake is made with canola oil instead of butter so the creaminess from the whipping cream shines through since butter is not overpowering anything. It totally transformed my expectations of banana bread a few months ago and now I have adapted it to other flavors. 
     It is delicious enough, that I trusted this simple apple cake to be a shine when I brought it in to a bakery I interviewed with last week. This is a position I have been thinking about all weekend because although I wanted it before I talked to one of the owners, the interview made me unbelievably excited for it. I am trusting this cake, and doing dances to the baking gods in hopeful wishing right now. Maybe if you make it and do a little dance next to your oven, it just might help my cause along the way!
Adapted from Shirley O. Corriher's Banana Bread in "BakeWise"

Makes one 9x5 or 10x4 loaf pan and 3 jumbo muffins or 6 standard muffins

Notes: You can also use bananas and chocolate chips or nuts (2 C mashed bananas-about 5 medium +1 C chocolate chips/nuts). Just fold them in instead of the apples in step 4. I made a double batch here, which yielded two loaves and 6 jumbo muffins. I followed the same method until the add-ins. One was apple with walnut streusel and the other was banana chocolate chip with plain streusel. You can also wrap the muffins and slice the bread and wrap it tightly in plastic wrap and they will last wonderfully in the freezer.
Cake
1 3/4 C sifted all-purpose flour
3/4 TSP baking powder-altitude (1 TSP at sea level)
1/4 TSP baking soda
1/2 TSP salt
1 1/2 C sugar
1/2 C canola oil
1 TSP vanilla extract
2 large eggs
1/2 C buttermilk
2 medium granny smith apples, pealed and diced* (see notes)
1/2 heavy cream

Topping

3/4 C walnuts
1 TBSP butter
1/4 TSP salt
1/2 C all-purpose flour
2 TBSP + 1TSP granulated sugar
3 TBSP brown sugar
1 TSP ground cinnamon
6 TBSP (3/4 stick) unsalted butter, softened

Cake
1. Preheat the oven to 350 F, and butter and flour your loaf pans and muffin tins.
2. Whisk together the flour, baking soda, powder, and salt in a medium bowl. 
3. In a larger bowl, mix together the oil and sugar until combined. Next mix in the extract, eggs, and buttermilk until everything is combined. 
4. Add the dry ingredients to the wet and making large stirs, combine the two with as few strokes as possible. Once almost all of the flour is incorporated, fold in the apple pieces.
5. In a small bowl, beat the whipping cream to medium-stiff peaks and then add a small amount to the batter and gentle fold that in using large sweeping motions around the edges. Add the rest of the whipped cream and repeat. Your goal it to keep the air in the whipped cream and not collapse it so gently folding it in is key. 
6. Divide the batter into the prepared pans and muffin tins.
Topping
7. Toast the walnuts on a sheet tray at 350 for 3-5 minutes until you can smell the nutty-ness and they are just beginning to brown. Pull them from the oven, transfer them to a bowl and toss them with the 1/4 TSP salt and 1 TBSP butter. Set aside to cool.
8. In a small bowl, whisk together the sugars, flour, and cinnamon. Using a pastry cutter, of your fingers incorporate the butter, until it is homogenous and crumbly. 
9. Sprinkle the streusel over the loaf and muffins, followed by the walnut pieces. 
10. Place the loaf and muffins in the oven and bake the muffins for 25-30 minutes, until an inserted skewer comes out clean (rotate half way through). Continue to bake the loaf for an additional 15-25 minutes until the skewer comes out clean (rotate when you pull the muffins).
11. Allow both things to cool for about 20 minutes before inverting them! Enjoy.

Love,
Boulder Butter

Sunday, March 23, 2014

Peanut Butter Cookies

     The creation of these cookies led to the most embarrassing baking-centered disaster I have ever had. That is not to say that if you make these cookies this will happen to you, because quite frankly, it could only happen to a person at their most illogical and flight-minded moment. Let us begin:
      The other day I had an hour and a half before work. I needed to cook and eat lunch, pack dinner, and bake cookies to photograph. I finished making lunch and simultaneously placed my cookies in the oven. I took off my mitt and went over to the table to eat. I thought something smelled off about my dish-was the mustard bad? Was the tofu funky? Finally, I realized the bottom edge of the oven mitt was touching the burner that had just been on and was still wicked hot. I examined the oven mitt that was pouring smoke, and I could see the embers in it. 
      I calmly went to the outside door of my building, held it open and proceeded to do the stupidest thing I could have. I tried to hit the mitt against the stone wall...swinging it back and forth in the sweet oxygen-fueling air that fires love so much. At this point, the back parking lot was full of smoke and the glove was obviously beginning to pick up speed in its disintegration. I realized my absent mindedness, folded up the glove so the hot part was on the bottom and stepped on the un-damaged area with my barefoot. The smoke was dissipating and I relaxed. However, I relaxed to the point that my arm let the building door gently close. No shoes, no phone, no key, I was locked out...meanwhile, the oven mitt was still burning away.
      The parking lot was empty so I decided to walk around to the front, carrying the burning mitt. Lucky for me, a police car happened to be sitting right on the side of the block. When I explained to him what had happened he looked down and just said, "Um, yeah, that oven mitt is still on fire, so I am going to need you to put that out..." When I responded that I didn't have shoes on and he got out to assist. 
      We went around the building and he tried to pick the lock. With no success, he had me bang on the front door, as he walked around and hit all the windows he could with his flashlight to try to get someone to answer. I knocked away with looming knowledge that I still had cookies in the oven and work in an hour.
      We couldn't get anyone so he walked back down to the street and radioed in "...The party cannot gain entrance to the building..." Within four minutes though, I realized how dramatic he must have made the situation seem. A multitude of sirens were coming from all directions. No less than five fire trucks, three police expedition cars, and an ambulance rushed to the scene of me covering my face with my hands, simultaneously crying and laughing in embarrassment, barefoot in my sweatpants. Neighbors came out to see the spectacle and stare at me, while in the meantime I prayed no one tell them this was simply over peanut butter cookies.
     The firefighters busted into the building, carrying their giant extinguishers and returned to the front door about a minute later to ask me to come with them. Upon entrance, they had pulled the cookie out of the oven and turned it off. Miraculously, they had not burned and still looked and smelled delectable. So, I did what any baker would do in this situation. "Oh my goodness, I am so sorry. I am so embarrassed. Oh my goodness...do you guys want cookies??"
      One of the firefighters and I chatted about the use of Silpats and I highly recommended them for even browning and easy clean up while also continuing to apologize about every five words. After a few minutes, the men left, I finished my lunch, put in new cookies with no disaster or oven mitt involved. RIP Mitty, looks like its just me and kitchen towels for protections for now. You did me well, I am sorry I cannot say the same for you. 

Adapted from Alice Medrich's "Chewy, Gooey, Crispy, Crunchy, Melt-In-Your-Mouth Cookies"

Ingredients:
1 1/2 C all-purpose flour
1/2 TSP baking soda
3/4 fine sea salt
8 TBSP butter, unsalted, melted
1/4 C packed brown sugar
3/4 C granulated sugar
1 egg
1 TSP vanilla extract
1 1/4 natural, salted peanut butter, smooth (stirred)
1/3-1/2 C roasted, salted peanuts 

Instructions:
1. Whisk together the flour, baking soda, and salt in a medium mixing bowl.
2. In a large mixing bowl, mix together the butter and sugars. 
3. Add the egg, vanilla,and peanut butter and mix until incorporated. Add in the peanuts stir to incorporate.
4. Add the flour mixture to the wet-ingrediants and stir until no more flour streaks are visable. It is a thick dough.
5. Flatten into a disk, wrap tightly in plastic wrap and refridgerate for 2 hours to 3 days. 
6. When you are ready, take out the dough to warm up for 15 minutes and preheat the oven to 350F. Then, scoop the dough into balls and flatten with your hand or the back of a glass.
7. Bake for 13-17 minutes (less if you want softer and chewier and longer if you want a bit more crumbly-they are good both ways but the lesser time was my favorite!)
Store in an airtight container for up to 2 weeks!

Love, 
Boulder Butter

Wednesday, March 19, 2014

Spring Carrot Cake

      This Saturday I went to a yoga class at a local brewery. (Yes, take a moment to appreciate that I get to go to drop-in yoga classes at a brewery. Lord knows, I am grateful for them!) The instructor talked about following your intuition and the path of your heart, versus making a decision out of fear in the desire of "taking the safer path." Right now, I feel somewhat at a crossroads with life and not knowing exactly what my heart says versus what is the decision made from living in fear. Sometimes we get so muddled in our heads; it is hard to balance and remember what we even really want. 
       It is times like this I turn to my mixing bowls. I start in the motions that I know. The motions that bring me peace. I mix my wet ingredients and my dry ingredients. I bring them together, get them in the oven and I wait until they begin to produce some new glorious smell in the kitchen. I think such a simple thing sometimes awakens my heart enough that I can hear it again and start to sort it all out. 
      The simplicity of a cake is sometimes all you need to bring you to a more grounded place. Cake is nostalgic and I think carrot cake in particular has strong a resonance of comfort. This carrot cake does not venture to far off your traditional versions, but there are two things I particularly love about it.
     First, it is not a spice cake. It has cinnamon and it lets that speak, but it is not overwhelmed with it; nor is it packed with an elaborate spice blend found in so many carrot cakes. This is simply an extremely moist carrot cake with hints or warmth. I also love that is it is packed with tang and citrus throughout. There is an extremely subtle orange simple syrup, which would be impossible for the eater to pick out, but adds that extra oomph. The cranberries, tart and zingy, are a bright and chewy addition scattered throughout.
Sometimes, the best thing about cake is eating it with the people you love. You can spot a glimpse of my co-baker in the back :)
     Finally, the lemon cream cheese frosting is made with lemon zest and juice. It delivers a sweet tang to the cake and creates an absolutely heavenly balance. Then the walnuts on the side add a creamy nuttiness. Their crunch and natural richness are a perfect compliment for the bright frosting. 
     Everyone has had carrot cake, and there are so many recipes for it. I can tell you though, particularly with spring abloom, this one is worth making. 


Adapted from the absolutely awesome, Joy the Baker's Cookbook by Joy Wilson

Ingredients:
Cake
3 1/3 C all-purpose flour
1 1/2 TSP baking powder (2 TSP at sea-level)
3/4 TSP baking soda (1 TSP at sea-level)
1 TSP salt
2 TSP ground cinnamon
3 large eggs+1 large egg yolk
1 C granulated sugar
1 C + 2 TBSP packed brown sugar
1 3/4 C canola oil
1 C chunky (preferably homemade) applesauce
1 TSP vanilla extract
1 TSP hazelnut extract (or 1 more TSP vanilla extract)
3 C grated carrots
1/3 C moist, dried cranberries 

Instructions:
1. Place racks in the center of the oven and preheat it to 350 F. Grease, line with parchment, and flour 2, 9" round cake pans.
2. In a large bowl, sift or whisk together the flour, baking soda and powder, salt, and cinnamon. 
3. In a medium bowl, whisk together the sugars and eggs until fully incorporated. Next, carefully add in the oil and patiently mix it in until it has fully combined with the sugar and eggs. It will seem like a lot of oil, but don't worry, just keep stirring and it will all work out :) 
4. Add the applesauce and extracts to the wet ingredients and mix until combined.
5. Add the wet ingredients into the dry in one go and mix to incorporate but try to do it in as few strokes as possible. Stir around the edges and bottom and fold it for the most effective motion. 
6. When it is almost fully mixed together, add the carrots and cranberries and finish folding together. 
7. Divide the batter evenly between the pans and bake for 30-35 minutes until an inserted skewer comes out clean from the center.
8. Let the cakes cool for 15-20 minutes on a rack before inverting.


Frosting
8 oz. cream cheese, softened
1/2 C (1 stick), unsalted butter, softened
Pinch of salt
2 C powdered sugar
2 TSP vanilla extract
2 TSP lemon zest
1 TBSP lemon juice
1 C chopped walnuts for garnish (optional)

Using a hand mixer or a stand mixer with a paddle attachment:
Beat the cream cheese for one minute, until light and pliable. Scrape down the sides of the bowl.
Add the butter and beat for another one to two minutes until there are no clumps left and the two are fully incorporated.
Add the lemon juice, zest, powdered sugar, salt, and vanilla and beat on a low speed until everything is almost fully incorporated.
Scrape down the sides, and beat at medium speed until the mixture is smooth and all the powdered sugar has disappeared. 

Orange Flower Water Simple Syrup (optional): this will keep you cake moist for a longer time
Place 1 C water, 1 C sugar and 1.5 TSP in a medium sauce pan on medium heat and stir occasionally until the sugar has fully dissolved. Remove from heat and allow it to cool. (You could also use 1.5 TSP orange juice. It will be slightly different but if you wanted the oranginess. Also you can just make plain simple syrup and leave out the flavoring).
-You will have extra, you can half the recipe or just store in your fridge for any cakey goods you make soon. It lasts a good while. 

Assembly: 
Once the cake has completely cooled, place your first round down. Brush or drizzle on the simple syrup over the entire puck. Top with frosting and spread it evenly to the edges. 
Repeat with the second layer, this time topping it with all of the frosting, spreading it evenly out to the edges and then carefully spread down and around the sides with an spatula. 
Garnish the sides or top with nuts depending how you like it and how patient you want to be with trying to get nuts to evenly cover the sides.
Serve immediately. This cake will last about 3-5 days in your fridge.

Love, 
Boulder Butter

Saturday, March 15, 2014

Adulthood + A Hot Toddy

Mature, trendy, hip outing shot.
       This morning started off great. I had the day off from work; I woke up early, got out of bed, drank two glasses of water, and headed out the door for an early morning speed walk. Impressive, right? Oh wait, let me tell you why I was speed walking...it was to rush to this local bakery I have been wanting to try that only sells their sweet rolls on the weekends and is notorious for selling out early.
      The adventure got me thinking about feeling grown up though. I would never have done this sort of thing by myself when I was younger. I would have felt silly going to get a treat out without a friend by my side to justify it. Today, a peaceful time sitting in a cafe by the window, pondering my love for pecan sticky buns, sounded perfect. As odd as it might sound, I felt mature for doing what I wanted to do even though it was just me this morning. 
Seriousy. That was my breakfest. All of it. 
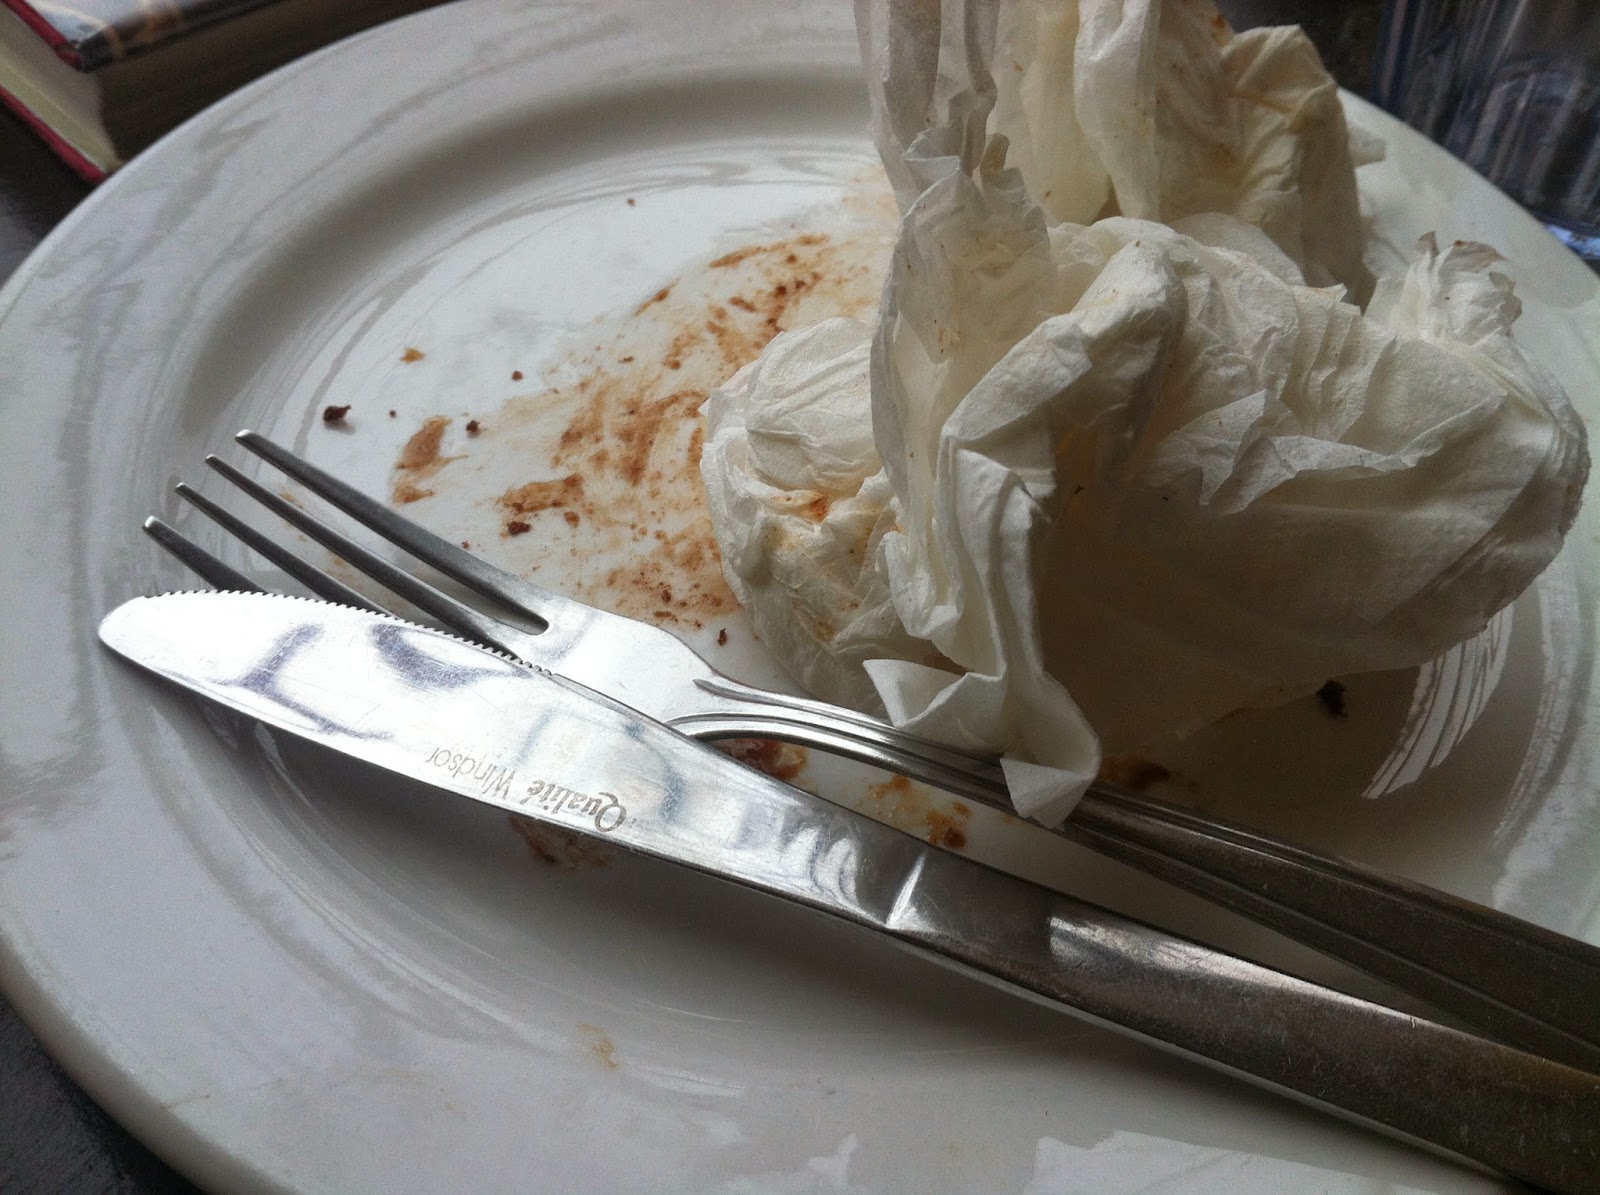
      So as I sat there, thinking about all the great adult-like decisions I have made recently, I basked in the responsible nature I developed over the last few months. At that moment, I could only help but to look down and laugh at myself. I had six crumpled, useless napkins in my lap and one that had fallen onto the floor. My fingers were covered in caramel messy goo that I kept licking off. I was slightly peeved when someone sat next to me on the bar stools, because I felt they were interrupting what was almost love making to this sticky bun. Not to mention, my face had a smudge of sticky cinnamon when I went to the bathroom. I frowned when I finished the last bite, both because I didn't want it to be over and my stomach hurt from eating the entire thing. 
This is not all of the napkins though...not even close. 
       The best part was I had the goofiest grin of accomplishment as I sat there eating and contemplating my maturity (until the momentary frown at the end). These are all things 5 year old would do when they make their own order and eat their entire, delicious breakfast. Maybe I am not so grown up after all.  You know what though? I finished my taxes early, I make my bed every day, I cook myself pretty much all of my meals, I pay all my bills on time and I was only 3 months delayed on taking my car in for its check-up! So today, I have accepted not being a complete adult, and not being a complete five year old. I embrace being a somewhat mixture of the two and being so freaking happy about it.
       Young people put so much pressure on themselves in college and post graduation. You must accomplish so much and be so presentable and so responsible and so perfect and so knowledgeable and yada, yada, yada. I'm realizing more and more the best part of life is having some of that yes, but also still being a kid. It is great not being totally grown up so I can freely call my mom crying because my car can't get unparalleled parked on the icy, slanted roads. Growing up is cool; learning to be an adult is I guess kind of cool, but in the end, I am not ready to give up childhood yet. So bring on the sticky buns! And the day I don't need a plethora of napkins covered in messiness and crumpled up, I will call my folks and tell them we can just be friends because I no longer need parents. (Don't worry, Mom and Dad, that will never happen.)
And here is my recipe for my new favorite hot toddy, because I am enough of an adult to have that.

Pick out your favoritist mug, put in a generous squeeze of honey and a peppermint tea bag, or loose peppermint tea in a steeper-thing (we're getting technical on this post). Brew some water, add it to the cup, and steep for 5 minutes. Stir. 
Remove tea bag and add a shot of bourbon. Drizzle with a little more honey if you like honey (I do). 
Sip sweet goodness and enjoy being a sort of adult-child, or wherever you are on that spectrum! 

Thanks for letting me indulge in thoughts today.

Love,
Boulder Butter

Wednesday, March 12, 2014

Blackberry-Lavender Cobbler

    The clock sprung forward and Monday night was a promise of a sweet, sweet spring and summer ahead in Denver. The sun was beaming and perfect for an early evening walk. The darkness did not come until later, and the night demanded cheesy grits with greens, a cold beer, and a nice warm cobbler. 
     Granted I had intended to make something completely different for my next post, but when I walked in the store that day and saw these juicy, beautiful blackberries sitting there, I knew it was time for a cobbler instead. 


    The berries are mashed together with ground lavender leafs. The center is a gooey and sweet, but the lavender pushes through a strong floral flavor with the slightest bitter notes. Each bite makes me feel like I am sitting in the middle of a field in the summer with the sun beating down. The filling taste like the most wonderful flavors of the earth and it's abundance. 
      There are many types of cobbler. This one, is what I have so eloquently named "a dumb cobbler" and it is the true type of my heart. The messy filling coupled with the caramelized, cakey surrounding screams sweet simplicity in a skillet. The buttermilk adds the quintessential southern tang; the molasses in the brown sugar creates an eye catching dark color and simultaneously chewy and crunchy texture on the outside that is divinity in cast iron. The inside is soft and comforting as it melds into one where it meets the berries.
    Cobblers are a messy scoop of heaven. I love them hot out of the oven, scooped impatiently and topped with vanilla ice cream that melts down the sides. I love them equally for breakfast, reheated, with milk poured over them (cereal never stood a chance). I had gingerbread to get me through the winter, but now I have this. Welcome back, Spring, how I have missed you.
**Notes: For the lavender you can use a mortar and pestle, a spice grinder, or if you have too, just run a knife through them to mince them for a bit. I use a 10" cast iron skillet for this recipe. If you do not have a cast iron skillet, in step two: instead prepare a 8x8 baking dish or 8-9" cake pan, and melt the butter in the microwave or in a separate sauce pan. 

Inspired by Virginia Willis' "Meme's Blackberry Cobbler" in Bon Appétit, Y'all-this book is a recent, but total obsession of mine!

Ingredients
1/2 C butter (1 stick), unsalted
4 1/2 C fresh blackberries (I used 3, 6 oz. containers)
1 1/2 TSP dried lavender flowers, ground* see notes
1 C all-purpose flour
1 C brown sugar + more for sprinkling 
1 TSP baking soda
3/4 TSP baking powder (at altitude) OR 1 TSP baking powder (sea level)
1 generous pinch fine sea salt
1 C buttermilk
1/2 TSP vanilla extract
1/2 TSP almond extract (or 1/2 more vanilla if you don't have this)

Instructions
1. Preheat your oven to 350 F.
2. Melt your butter in a large cast iron skillet and remove from heat. **See notes. 
3. Add the blackberries and ground lavender to a large bowl and sprinkle with a small amount of sugar. Using a potato masher, forks, or pastry cutter, mash the berries so some of the juices have been released but there is still form in some of them.
4. Whisk together the flour, baking powder and salt. Next stir in the brown sugar, breaking up the majority of the clumps before continuing. 
5. Mix in the buttermilk, then the extracts and finally the butter until the batter is smooth. Pour the batter into the cast iron skillet. Add the mashed berry mixture to the center.
6. Bake for 45-50 minutes. Remove and let it cool for 30 minutes before serving. Goes perfectly with ice cream or whipped cream-the lavender begs for one of those! Vanilla is perfect, and if you can find honey flavored I can only imagine it would be heavenly. 


The best part-since it is so PACKED with berries, it makes it really easy to eats huge spoonfuls of it. I love anything sweet I get to huge spoonfuls of! 

Love,
Boulder Butter    

Thursday, March 6, 2014

Shaker Lemon Pie

    I have heard of this pie for a long time, and have always wanted to try one. However, it is not common to walk into a pie shop and see this beauty shinning on the counter. Although it should be there-ready to turn into lemon goops of happiness on my spoon. Since that is the case, I decided with lemons in full seasonal swing, I would make this pie myself. 
    The neat thing about this pie is that it uses the WHOLE lemon. Unlike another way to use whole lemons in tarts by pureeing in a food processor, in this pie the lemons are macerated as thin slices in sugar for a long time. Some of them dissolve almost completely and some remain in full rings; this creates an experience of texture as you dig into the pie. The top rings candy and form these chewy delicious bits, the inside melts together to a sweet lemon custardy-curd like filling and the piecrust creates the perfect flakey vehicle of balance. 
    This pie is what I dream my breakfast could be every day. Sub flaky piecrust for toast and lather on lots and lots both of lemon curd AND lemon marmalade. Sub in ice cream or whipped cream for your yogurt. I will be sad to return to my toast when it is all gone...and I love toast.

Ingredients

1 9" single pie crust

4 small or 2 large lemons
1 3/4 C sugar
1/4 TSP salt
4 eggs
4 TBSP melted butter
3 TBSP flour

Instructions:
1. Wash and dry the lemons thoroughly. Zest them and place the zest and sugar into a large (non metal) bowl. Slice the lemons very thinly by hand or using a mandoline and remove the seeds.
2. Bring some water to a boil, then add the lemons for one minute, then quickly remove and add them to ice water to quickly cool for 1 minute. Strain them lemons to remove most of the excess liquid. Add the lemons to sugar and zest and stir to combine. Let them sit at room temperature for 6 hours (the will form a thickened, syrupy lemon sugar mixture during this time. 
3. When the lemons are ready to go, preheat the oven to 425F, roll out and prepare your crust, place it in the pan and put it in the fridge while you finish preparing the filling. 
4. In a separate bowl, whisk the egg until frothy. Add the butter and flour and mix to combine. Finally stir that into the lemon mixture. 
5. Pour the filling into the piecrust and bake for 30 minutes at 425F, then turn down the heat to 350F and bake for 15-25 more minutes until the filling is set. Remove and let the pie cool for at least 30 minutes before serving. 
*It is fine and good warm, and you will not be able to resist its smell, but believe me enjoy it warm, then store it in your fridge and wait for the true treat to come once it is cold the next morning! Or if your ridiculously patient, you can wait to cut into it until then...I definitely was not.