Showing posts with label dessert. Show all posts

Friday, April 4, 2014

Yeasted Chocolate Bread

       Some of you know that I was misdiagnosed with Celiacs the week before I left for college. I moved out to Colorado (thankfully the land of people wanting to convert every recipe to gluten free) and started to re-learn food. There were weeks at the beginning I ate a lot of corn tortillas-some of those weeks were because I didn't exactly know everything I could eat, and some of those weeks were because I was to poor to afford ridiculously expensive gluten free bread.
       I was not much of a cook before this time, but due to a series of events in my life, I started to enter the kitchen more. Being gluten free was a big factor. I did not want to go the rest of my life without eating a delicious x, y, or z. (Let's be honest, most gluten free things at the store are less than stellar.) So my task began, and I simultaneously began my journey to trying to learn gluten free and high-altitude baking. In all honesty, it was fun and I'll probably share some of what I learned with you guys another time. However, this is my post in praise of gluten. After about 3 1/2 strict, no slip up, gluten free years, it was discovered that I did not have Celiacs. I went out for a sandwich with crusty, multigrain bread and an almond croissant, and nearly cried with happiness.
        Getting to eat gluten again has been one of the most wonderful discoveries of my life. I still eat things I had not had in years and it is so exciting. I will never, ever, take advantage of the ability to bake and taste test my gluten-filled things because its freaking awesome, and to be honest it gives you a lot more range. There are some things that just cannot be duplicated (phyllo dough, croissants, ect.) gluten free. Getting to eat it and bake with it is a blessing and not something I will ever take for granted.
        I have to tell you guys, two of my favorite things in the world are Bread and Beer. (Yes, capitalized because they are truly almighty food for me!) Yes, I know they make gluten free beer and bread, but it is just not the same. 
        This bread is an ode of my appreciation to being free to be able to eat whatever I would like. It is yeasted, fluffy, and delicious. It is packed with an extremely rich chocolate flavor from Dutch processed cocoa powder, semisweet chocolate chips, and chopped bittersweet chocolate. It is sweet, and decadently creamy to the point where it is like you are almost eating warm ice cream because it seems to simply melt in your mouth. You can put a spot of butter on your piece, but seriously, even on its own-simple, sliced thick, warm out of the oven, this bread is heaven. The soft dough center is like a gentle chocolate pillow and the varieties of chocolate strewed within add a complexity and a serious depth of flavor. This is unlike any bread I have ever had, and it definitely deserves the title of an ode of my appreciation.
Adapted from "Back in the Day Bakery Cookbook" by Cheryl and Griffith Day

Makes one 10x4 inch loaf (you can use a 9x5)

2 1/2 C all-purpose flour
1/4 C Dutch-processed cocoa powder
1/3 C granulated sugar
1 1/4 TSP active-dry yeast
1-11/4 C warm water
6 TBSP unsalted butter, cubed, room temperature
1 TSP fine salt
1/2 C semisweet chips
1/2 C chopped bittersweet chocolate
Granulated sugar for sprinkling
1 TBSP whole milk 
A dash of vanilla extract

Ingredient notes: This loaf is absolutely lovely as is. However, if you wanted to mix it up some, I think the zest of an orange, a TBSP of a hazelnut or raspberry liqueur, a TSP of a fun extract or 1/2 C of nuts would all be wonderful!

1. In the bowl of a stand mixer, fitted with a dough hook attachment, combine the flour, cocoa powder, 1/3 sugar, and yeast. Turn the mixer on low and slowly add in the water to the mixture. (Yours may only take the 1 C so start with that, at altitude it will likely take more. Add the last 1/4 C only if necessary and only as much as is needed to wet the flour mixture). Mix for 3 minutes. Turn off the mixer and allow the dough to rest for 20 minutes.
2. After 20 minutes, add the cubed butter and salt and mix on medium speed until the dough comes together and the sides of the bowl are clean (about 5 minutes) and the dough has developed a sheen appearance. It is sticky and you may need to scrape off the sides once or twice to help it incorporate everything.
3. Turn the speed back down to low and add the chocolate chips, kneading for 1-2 minutes until the chips are distributed. 
4. Turn the dough out onto a floured surface, form it into a round loaf and place it into an mixing bowl coated in a vegetable or canola oil, seem side down. Cover with plastic wrap and allow it to rise in a warm spot for 1 1/2-2 hours, until it has doubled in size.
5. Get out your loaf pan and sprinkle the bottom a small amount of granulated sugar. Next, turn the dough back out onto a floured surface and form in into an 8x6 loaf. With the long side towards you, roll it into a cylinder and place it into the loaf pan, seem side down. Loosely cover the pan loosely with plastic wrap and allow it to double in size again (about 1 1/2 hours). 
    * I placed mine covered in the fridge over night for a slow rise. The next morning I took it out while the oven preheated and allowed it to rise for about 30-40 minutes at room temperature. This is a great option if you do not have time to do it all in one day or what the bread warm in the morning). 
6. After about 1 hour into the second rise, position a rack in the middle of the oven and preheat it to 350F. After the dough has finished rising, remove the plastic wrap. Combine the milk and vanilla extract in a small bowl and stir together. Brush the vanilla milk over the bread and then sprinkle the top with a touch of granulated sugar. 
7. Bake in the oven for 30-35 minutes and then allow the bread to cool on a rack for 30 minutes before inverting. Slice and enjoy some warm! It will last about 3 days, wrapped up. It makes great toast as well :)

Yay, Gluten! Yay, Bread!

Love,
   Boulder Butter

Monday, March 31, 2014

Apple Cake with Walnut Streusel Topping + Banana Chocolate Chip Cake with Streusel Topping

     I have posted a lot of cake-like things on the blog over time and to be honest guys, it is because I absolutely love to have tea cakes, frosted cakes, snacking cakes, cupcakes, muffins, (insert any cake substance here) around. I find them to be one of the most enjoyable treats and some of the most relaxing things for me to make. I enjoy the process and the end results. Teacakes can be a wonderful thing, but sometime they are so simple it seems like just a wah-wah type item. However, once you have a truly delicious base for your teacake, it will change your mind on that completely. 
       This base is perfect! My favorite part is the really unique combination of dairy in it that produces the richest, creamiest and lightest of batters. It is to die for! Part buttermilk, stirred in and part whipped cream, folded in is apparently the key to blissful creaminess.  Plus the cake is made with canola oil instead of butter so the creaminess from the whipping cream shines through since butter is not overpowering anything. It totally transformed my expectations of banana bread a few months ago and now I have adapted it to other flavors. 
     It is delicious enough, that I trusted this simple apple cake to be a shine when I brought it in to a bakery I interviewed with last week. This is a position I have been thinking about all weekend because although I wanted it before I talked to one of the owners, the interview made me unbelievably excited for it. I am trusting this cake, and doing dances to the baking gods in hopeful wishing right now. Maybe if you make it and do a little dance next to your oven, it just might help my cause along the way!
Adapted from Shirley O. Corriher's Banana Bread in "BakeWise"

Makes one 9x5 or 10x4 loaf pan and 3 jumbo muffins or 6 standard muffins

Notes: You can also use bananas and chocolate chips or nuts (2 C mashed bananas-about 5 medium +1 C chocolate chips/nuts). Just fold them in instead of the apples in step 4. I made a double batch here, which yielded two loaves and 6 jumbo muffins. I followed the same method until the add-ins. One was apple with walnut streusel and the other was banana chocolate chip with plain streusel. You can also wrap the muffins and slice the bread and wrap it tightly in plastic wrap and they will last wonderfully in the freezer.
Cake
1 3/4 C sifted all-purpose flour
3/4 TSP baking powder-altitude (1 TSP at sea level)
1/4 TSP baking soda
1/2 TSP salt
1 1/2 C sugar
1/2 C canola oil
1 TSP vanilla extract
2 large eggs
1/2 C buttermilk
2 medium granny smith apples, pealed and diced* (see notes)
1/2 heavy cream

Topping

3/4 C walnuts
1 TBSP butter
1/4 TSP salt
1/2 C all-purpose flour
2 TBSP + 1TSP granulated sugar
3 TBSP brown sugar
1 TSP ground cinnamon
6 TBSP (3/4 stick) unsalted butter, softened

Cake
1. Preheat the oven to 350 F, and butter and flour your loaf pans and muffin tins.
2. Whisk together the flour, baking soda, powder, and salt in a medium bowl. 
3. In a larger bowl, mix together the oil and sugar until combined. Next mix in the extract, eggs, and buttermilk until everything is combined. 
4. Add the dry ingredients to the wet and making large stirs, combine the two with as few strokes as possible. Once almost all of the flour is incorporated, fold in the apple pieces.
5. In a small bowl, beat the whipping cream to medium-stiff peaks and then add a small amount to the batter and gentle fold that in using large sweeping motions around the edges. Add the rest of the whipped cream and repeat. Your goal it to keep the air in the whipped cream and not collapse it so gently folding it in is key. 
6. Divide the batter into the prepared pans and muffin tins.
Topping
7. Toast the walnuts on a sheet tray at 350 for 3-5 minutes until you can smell the nutty-ness and they are just beginning to brown. Pull them from the oven, transfer them to a bowl and toss them with the 1/4 TSP salt and 1 TBSP butter. Set aside to cool.
8. In a small bowl, whisk together the sugars, flour, and cinnamon. Using a pastry cutter, of your fingers incorporate the butter, until it is homogenous and crumbly. 
9. Sprinkle the streusel over the loaf and muffins, followed by the walnut pieces. 
10. Place the loaf and muffins in the oven and bake the muffins for 25-30 minutes, until an inserted skewer comes out clean (rotate half way through). Continue to bake the loaf for an additional 15-25 minutes until the skewer comes out clean (rotate when you pull the muffins).
11. Allow both things to cool for about 20 minutes before inverting them! Enjoy.

Love,
Boulder Butter

Sunday, November 24, 2013

Buttermilk Chess Pie


       When I was a kid, My Grandfather used to come down to Atlanta to spend Thanksgiving with us. During one of his visits, my dad, sister, grandfather and I were driving in the car, and we got into a discussion of everyone's favorite types of pie. (For the record, mine was apple with crumble topping at the time.) Dad and Hattie listed theirs and finally Grandfather named "Chess Pie." Much to Grandfather's disappointment, none of us had even heard of Chess Pie. We inquired as to what it was and Grandfather explained "It is like pecan pie, without the pecans." To this, my Dad responded, "So you mean it is just the goop?" At this moment, my Grandfather become endearingly indignant, and in a deep tone spoke the voice of a wise pie sage, "It is so much more than just goop, Scottie." The three of us of course burst out in laughter.
       Although it was the pie my Grandfather named as such an ultimately tasty treat many years ago, I only just now bought my large jug of buttermilk and went home ready to experience this pie. From when I finally looked up what was in it-cornmeal, eggs, lots of delicious buttermilk, and some bright citrus- I knew Grandfather had been right to take such a tone with us. It is so much more that just goop.
       It is a lusciously gentle lemon custard, just slightly and pleasantly textured by a small amount of cornmeal. The filling is reminiscent of a southern grain style pudding which is then baked inside a perfectly, flakey, buttery crust. The buttermilk gives the classic smooth, buttery, goodness so characteristic of its presence in baking. However, the biggest and most welcomed surprise was the top of the custard. Instead of being soft and pudding like, the sugar and cornmeal form an extremely thin sugar top crust. Therefore, when you first tap your fork down over the top to sink in, there is the smallest and most satisfying crunch. This is the Southern pie the majority of America still needs to find out about, because it is just gosh darn delicious. Thank you Grandfather for being the sage of pie eating, even when your younger generations were clueless!
Very slightly adapted from The Back in the Day Bakery Cookbook by Cheryl and Griffith Day

Ingredients:

1 9-10" unbaked pie crust (I used Back in the Day's but pick your favorite)
4 TBSP (1/2 Stick) unsalted butter, room temperature
1 1/2 C sugar
4 eggs
1 TBSP all purpose flour
2 TBSP yellow cornmeal
1 pinch of fine sea salt
3/4 C buttermilk (low-fat)
1 TBSP lemon juice
Zest of 1/2 of an orange and 1/2 a lemon

Oven Temp: Start 350 (first 10 minutes), down to 325 (last 45-55 minutes)

Instructions:
1. Roll out your pie dough to a 12" round and place it into a greased 9" baking dish. Cut off the excess piecrust and poke the crust with a fork. Allow the piecrust a final rest of an hour in the fridge.
2. When you are ready to bake, preheat the oven.
3. In a large mixing bowl, cream together the sugar and butter with a hand mixer (or paddle attachment in your stand mixer) until it is light and fluffy.
4. Add in the eggs in, one at a time, until they are fully incorporated.
5. Add the flour, cornmeal, and salt and beat on low until just incorporated.
6. Add the lemon juice, buttermilk, and zest and mix to combine.
7. Remove the crust from the fridge, pour in the mixture and bake at 350 F for the first 10 minutes. Then turn the oven down to 325 and continue to cook for 45-50 minutes, until the filling is set.
8. Remove the pie from the oven and allow it to cook for at least 2 hours at room temperature before cutting.

Sunday, November 17, 2013

Pumpkin Cake Squares + Baked Spice Cream Cheese Frosting

        I know I am a little late pumpkin excitement. October has already passed and peoples initial "gee-wiz its back!" has long been replaced by dreams of stuffing, turkey, and most importantly, pecan pie. Today though, I denounce the end of the thrill of pumpkin to bring it back because I am just not done with it. Not even pumpkin in particular, but the winter squash family. Oh my goodness, butternut squash is what I want warm, melting in my mouth on the daily right now; and I am not the biggest fan of stuffed vegetables, but an acorn squash, filled with cranberries, wild rice, and some nuts is enough to drive me into autumnal bliss without even seeing the outdoors. 
       I considered mixing up the squash in this recipe for a funkier note (and that is totally allowed), but I realized, I had not had one of the ultimate combos of the season yet. I had not combined pumpkin with cream cheese and you best be darned, I am not letting November go by without eating those two together. I mean really anything you give me an excuse to put cream cheese icing on, I will; but paired with spices and pumpkin-tangy, sweet, warm, and rich in deep flavors...it was time. I broke out the cream cheese, while the scents of cinnamon, nutmeg, cloves and ginger awoke my nose. I broke into the bag of semisweet chocolate morsels (and admittedly, did nibble on two or three), while the pumpkin called my name from the cabinet.
       These squares were made as my second dish to the La Veta weekend (I mean what is a weekend in the mountains without a freshly baked treat making you want to wiggle your feet in thick socks in happiness). These cake squares are the type of thing you cut into, take a small piece while talking to your friends and feeling the comfort of the flavors find your taste buds. All of a sudden, you find yourself having gone back for another one...and a third. The pumpkin gives the cake deep moisture, and takes away any overly sweetness. It works to balance a warm spice mix and stand up to their powerful notes. The cream cheese baked on top has a sweet touch that sinks down onto the cake and adds a milky mouth feel. It provides the cake an additional moist topping without the overt sweetness sometimes present in frostings. Instead of overpowering the pumpkin cake, it all simply balances together in a wonderful bite of pumpkin-cream cheese bliss Sigh...feel free to take me back to the pumpkin squares now...and for that matter I wouldn't mind returning to La Veta.  
Makes 1 9x13, or 2 8x8 

Ingredients:
Base
2 1/3 C all-purpose flour
2 TSP cinnamon
1/4 TSP ginger
1/4 TSP nutmeg
1 dash of cloves
3/4 TSP salt
16 TBSP butter, room temp (2 sticks)
3/4 C brown sugar
3/4 C white sugar
1 large egg
1 (15 oz.) can pumpkin puree
2 TSP vanilla extract
1 1/2 C chocolate chips (semisweet)
Topping
8 OZ. cream cheese
1/2 C sugar
1/2 TSO cinnamon
2 TBSP whole milk
 *You could also double the cream cheese layer to make a thicker coat. I have not done this but I think I would the next time.

Instructions:
1. Preheat the oven to 350 F and prepare the baking dish(es).
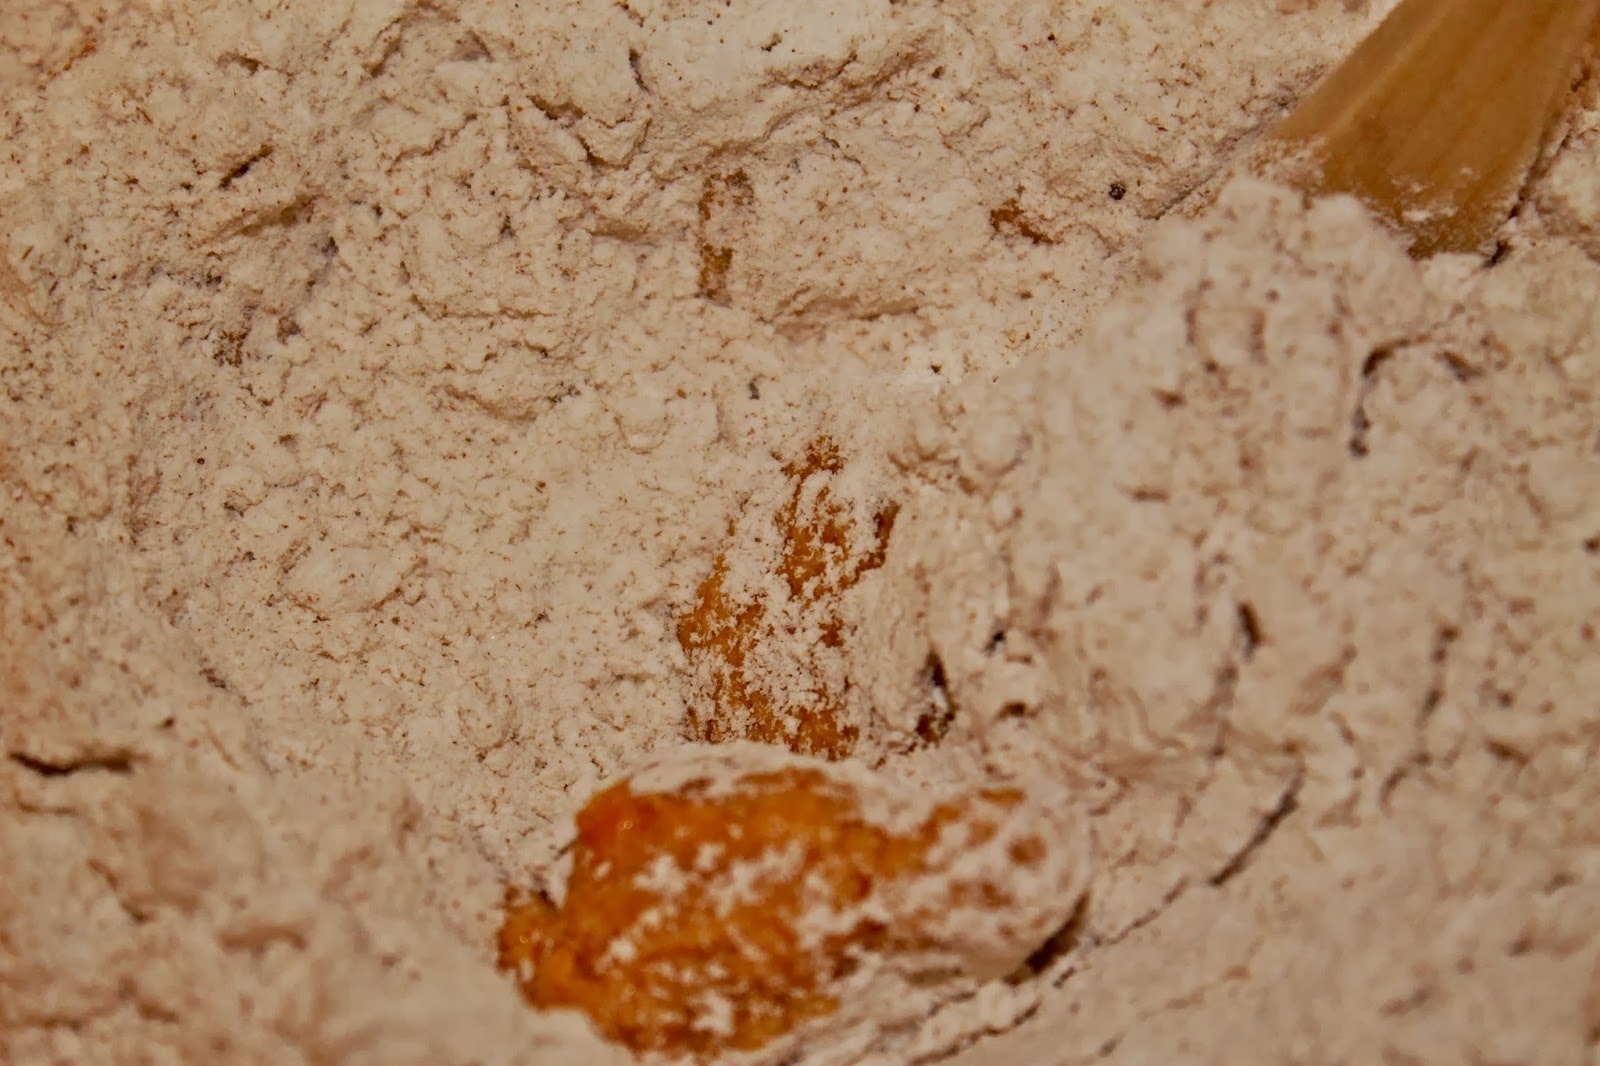
2. In a medium bowl, sift together the flour, spices, and salt.
3. In a larger bowl, beat the butter to begin the creaming, then add in the sugars and continue to cream until the mixture is light and fluffy.
4. Add the egg and continue to beat until incorporated.
5. Add the pumpkin puree and vanilla and beat until incorporated.
6. Switch to a spatula or spoon and add flour in 2-3 additions until just incorporated. Fold in around the sides and bottom to make sure all the flour is mixed in.
7. Fold in the chocolate chips. 
8. Pour the batter into the pans and spread evenly with the back of a grease spatula.
9. In a small bowl, beat together the cream cheese, sugar, milk, and cinnamon, until well combined.

10. Scoop the cream cheese mixture over the pumpkin batter and gently spread with a knife (try not to push down to hard which will begin to mix the pumpkin and cream cheese instead of keeping two layers). 
11. Bake for about 50 minutes until the inside is fully set, an inserted toothpick comes out clean and the edges have started to brown.
12. Remove and allow the cake to cool before cutting into squares.