Showing posts with label Back in the Day Bakery. Show all posts

Friday, April 4, 2014

Yeasted Chocolate Bread

       Some of you know that I was misdiagnosed with Celiacs the week before I left for college. I moved out to Colorado (thankfully the land of people wanting to convert every recipe to gluten free) and started to re-learn food. There were weeks at the beginning I ate a lot of corn tortillas-some of those weeks were because I didn't exactly know everything I could eat, and some of those weeks were because I was to poor to afford ridiculously expensive gluten free bread.
       I was not much of a cook before this time, but due to a series of events in my life, I started to enter the kitchen more. Being gluten free was a big factor. I did not want to go the rest of my life without eating a delicious x, y, or z. (Let's be honest, most gluten free things at the store are less than stellar.) So my task began, and I simultaneously began my journey to trying to learn gluten free and high-altitude baking. In all honesty, it was fun and I'll probably share some of what I learned with you guys another time. However, this is my post in praise of gluten. After about 3 1/2 strict, no slip up, gluten free years, it was discovered that I did not have Celiacs. I went out for a sandwich with crusty, multigrain bread and an almond croissant, and nearly cried with happiness.
        Getting to eat gluten again has been one of the most wonderful discoveries of my life. I still eat things I had not had in years and it is so exciting. I will never, ever, take advantage of the ability to bake and taste test my gluten-filled things because its freaking awesome, and to be honest it gives you a lot more range. There are some things that just cannot be duplicated (phyllo dough, croissants, ect.) gluten free. Getting to eat it and bake with it is a blessing and not something I will ever take for granted.
        I have to tell you guys, two of my favorite things in the world are Bread and Beer. (Yes, capitalized because they are truly almighty food for me!) Yes, I know they make gluten free beer and bread, but it is just not the same. 
        This bread is an ode of my appreciation to being free to be able to eat whatever I would like. It is yeasted, fluffy, and delicious. It is packed with an extremely rich chocolate flavor from Dutch processed cocoa powder, semisweet chocolate chips, and chopped bittersweet chocolate. It is sweet, and decadently creamy to the point where it is like you are almost eating warm ice cream because it seems to simply melt in your mouth. You can put a spot of butter on your piece, but seriously, even on its own-simple, sliced thick, warm out of the oven, this bread is heaven. The soft dough center is like a gentle chocolate pillow and the varieties of chocolate strewed within add a complexity and a serious depth of flavor. This is unlike any bread I have ever had, and it definitely deserves the title of an ode of my appreciation.
Adapted from "Back in the Day Bakery Cookbook" by Cheryl and Griffith Day

Makes one 10x4 inch loaf (you can use a 9x5)

2 1/2 C all-purpose flour
1/4 C Dutch-processed cocoa powder
1/3 C granulated sugar
1 1/4 TSP active-dry yeast
1-11/4 C warm water
6 TBSP unsalted butter, cubed, room temperature
1 TSP fine salt
1/2 C semisweet chips
1/2 C chopped bittersweet chocolate
Granulated sugar for sprinkling
1 TBSP whole milk 
A dash of vanilla extract

Ingredient notes: This loaf is absolutely lovely as is. However, if you wanted to mix it up some, I think the zest of an orange, a TBSP of a hazelnut or raspberry liqueur, a TSP of a fun extract or 1/2 C of nuts would all be wonderful!

1. In the bowl of a stand mixer, fitted with a dough hook attachment, combine the flour, cocoa powder, 1/3 sugar, and yeast. Turn the mixer on low and slowly add in the water to the mixture. (Yours may only take the 1 C so start with that, at altitude it will likely take more. Add the last 1/4 C only if necessary and only as much as is needed to wet the flour mixture). Mix for 3 minutes. Turn off the mixer and allow the dough to rest for 20 minutes.
2. After 20 minutes, add the cubed butter and salt and mix on medium speed until the dough comes together and the sides of the bowl are clean (about 5 minutes) and the dough has developed a sheen appearance. It is sticky and you may need to scrape off the sides once or twice to help it incorporate everything.
3. Turn the speed back down to low and add the chocolate chips, kneading for 1-2 minutes until the chips are distributed. 
4. Turn the dough out onto a floured surface, form it into a round loaf and place it into an mixing bowl coated in a vegetable or canola oil, seem side down. Cover with plastic wrap and allow it to rise in a warm spot for 1 1/2-2 hours, until it has doubled in size.
5. Get out your loaf pan and sprinkle the bottom a small amount of granulated sugar. Next, turn the dough back out onto a floured surface and form in into an 8x6 loaf. With the long side towards you, roll it into a cylinder and place it into the loaf pan, seem side down. Loosely cover the pan loosely with plastic wrap and allow it to double in size again (about 1 1/2 hours). 
    * I placed mine covered in the fridge over night for a slow rise. The next morning I took it out while the oven preheated and allowed it to rise for about 30-40 minutes at room temperature. This is a great option if you do not have time to do it all in one day or what the bread warm in the morning). 
6. After about 1 hour into the second rise, position a rack in the middle of the oven and preheat it to 350F. After the dough has finished rising, remove the plastic wrap. Combine the milk and vanilla extract in a small bowl and stir together. Brush the vanilla milk over the bread and then sprinkle the top with a touch of granulated sugar. 
7. Bake in the oven for 30-35 minutes and then allow the bread to cool on a rack for 30 minutes before inverting. Slice and enjoy some warm! It will last about 3 days, wrapped up. It makes great toast as well :)

Yay, Gluten! Yay, Bread!

Love,
   Boulder Butter

Sunday, November 24, 2013

Buttermilk Chess Pie


       When I was a kid, My Grandfather used to come down to Atlanta to spend Thanksgiving with us. During one of his visits, my dad, sister, grandfather and I were driving in the car, and we got into a discussion of everyone's favorite types of pie. (For the record, mine was apple with crumble topping at the time.) Dad and Hattie listed theirs and finally Grandfather named "Chess Pie." Much to Grandfather's disappointment, none of us had even heard of Chess Pie. We inquired as to what it was and Grandfather explained "It is like pecan pie, without the pecans." To this, my Dad responded, "So you mean it is just the goop?" At this moment, my Grandfather become endearingly indignant, and in a deep tone spoke the voice of a wise pie sage, "It is so much more than just goop, Scottie." The three of us of course burst out in laughter.
       Although it was the pie my Grandfather named as such an ultimately tasty treat many years ago, I only just now bought my large jug of buttermilk and went home ready to experience this pie. From when I finally looked up what was in it-cornmeal, eggs, lots of delicious buttermilk, and some bright citrus- I knew Grandfather had been right to take such a tone with us. It is so much more that just goop.
       It is a lusciously gentle lemon custard, just slightly and pleasantly textured by a small amount of cornmeal. The filling is reminiscent of a southern grain style pudding which is then baked inside a perfectly, flakey, buttery crust. The buttermilk gives the classic smooth, buttery, goodness so characteristic of its presence in baking. However, the biggest and most welcomed surprise was the top of the custard. Instead of being soft and pudding like, the sugar and cornmeal form an extremely thin sugar top crust. Therefore, when you first tap your fork down over the top to sink in, there is the smallest and most satisfying crunch. This is the Southern pie the majority of America still needs to find out about, because it is just gosh darn delicious. Thank you Grandfather for being the sage of pie eating, even when your younger generations were clueless!
Very slightly adapted from The Back in the Day Bakery Cookbook by Cheryl and Griffith Day

Ingredients:

1 9-10" unbaked pie crust (I used Back in the Day's but pick your favorite)
4 TBSP (1/2 Stick) unsalted butter, room temperature
1 1/2 C sugar
4 eggs
1 TBSP all purpose flour
2 TBSP yellow cornmeal
1 pinch of fine sea salt
3/4 C buttermilk (low-fat)
1 TBSP lemon juice
Zest of 1/2 of an orange and 1/2 a lemon

Oven Temp: Start 350 (first 10 minutes), down to 325 (last 45-55 minutes)

Instructions:
1. Roll out your pie dough to a 12" round and place it into a greased 9" baking dish. Cut off the excess piecrust and poke the crust with a fork. Allow the piecrust a final rest of an hour in the fridge.
2. When you are ready to bake, preheat the oven.
3. In a large mixing bowl, cream together the sugar and butter with a hand mixer (or paddle attachment in your stand mixer) until it is light and fluffy.
4. Add in the eggs in, one at a time, until they are fully incorporated.
5. Add the flour, cornmeal, and salt and beat on low until just incorporated.
6. Add the lemon juice, buttermilk, and zest and mix to combine.
7. Remove the crust from the fridge, pour in the mixture and bake at 350 F for the first 10 minutes. Then turn the oven down to 325 and continue to cook for 45-50 minutes, until the filling is set.
8. Remove the pie from the oven and allow it to cook for at least 2 hours at room temperature before cutting.

Friday, September 6, 2013

Plum Custard


         I have recently been feeling a lot of nostalgia for my southern roots. Particularly, when it comes to food. I was not really "into" food when I lived in the South. I mean, I really enjoyed it, and I was always happy to eat it, but I did not start to nerd out to food until college. Since then, I have not spent an extended amount of time back home. Recently however, the south has captivated me in its food culture and traditions, and I have been longing to go back and do a food tour, especially around Georgia. I mean how cool would it be to go and drive around the state looking for the best flavors it has to offer? Not saying this will happen anytime soon, but it is something I have become mildly obsessed with over the past few months. One of the places I would definitely include on such a tour is the Back in the Day Bakery in Savannah, Georgia.

        A Back in the Day Bakery cookbook  was published about a year and a half ago and from the moment I saw it on the shelf, my eyes widened with a desire to bake everything in it. A few months later, I saw it on my step-mom's counter when I was home, and again I was filled with the same longing. Finally, I have acquired my very own copy. I instantly looked through the recipes and went into the kitchen the moment I had to time to enter my happy place!
         When I asked my step-mom, Bam, what she had felt about the book, she said it held flavors of comfort for her. It is old-time food with classic, dependable, delicious southern charm. Bam was the most kitchen oriented family member I had growing up, and really most of my deep food memories of childhood come from her kitchen and cooking. I still dream of her monkey bread on Christmas morning :) She love to try new foods for us and there were many fun dishes that came from her hard work in the kitchen. So when I was looking through the book and deciding what to make first, I went with this recipe because custard is one of her particular favorites. With the overwhelming nostalgia I have been feeling the South, my own home, and childhood food memories created by Bam, I thought there was no better place to start working through the book, than to pay a small homage to one of the people that inspired me in the kitchen long before I knew it. 

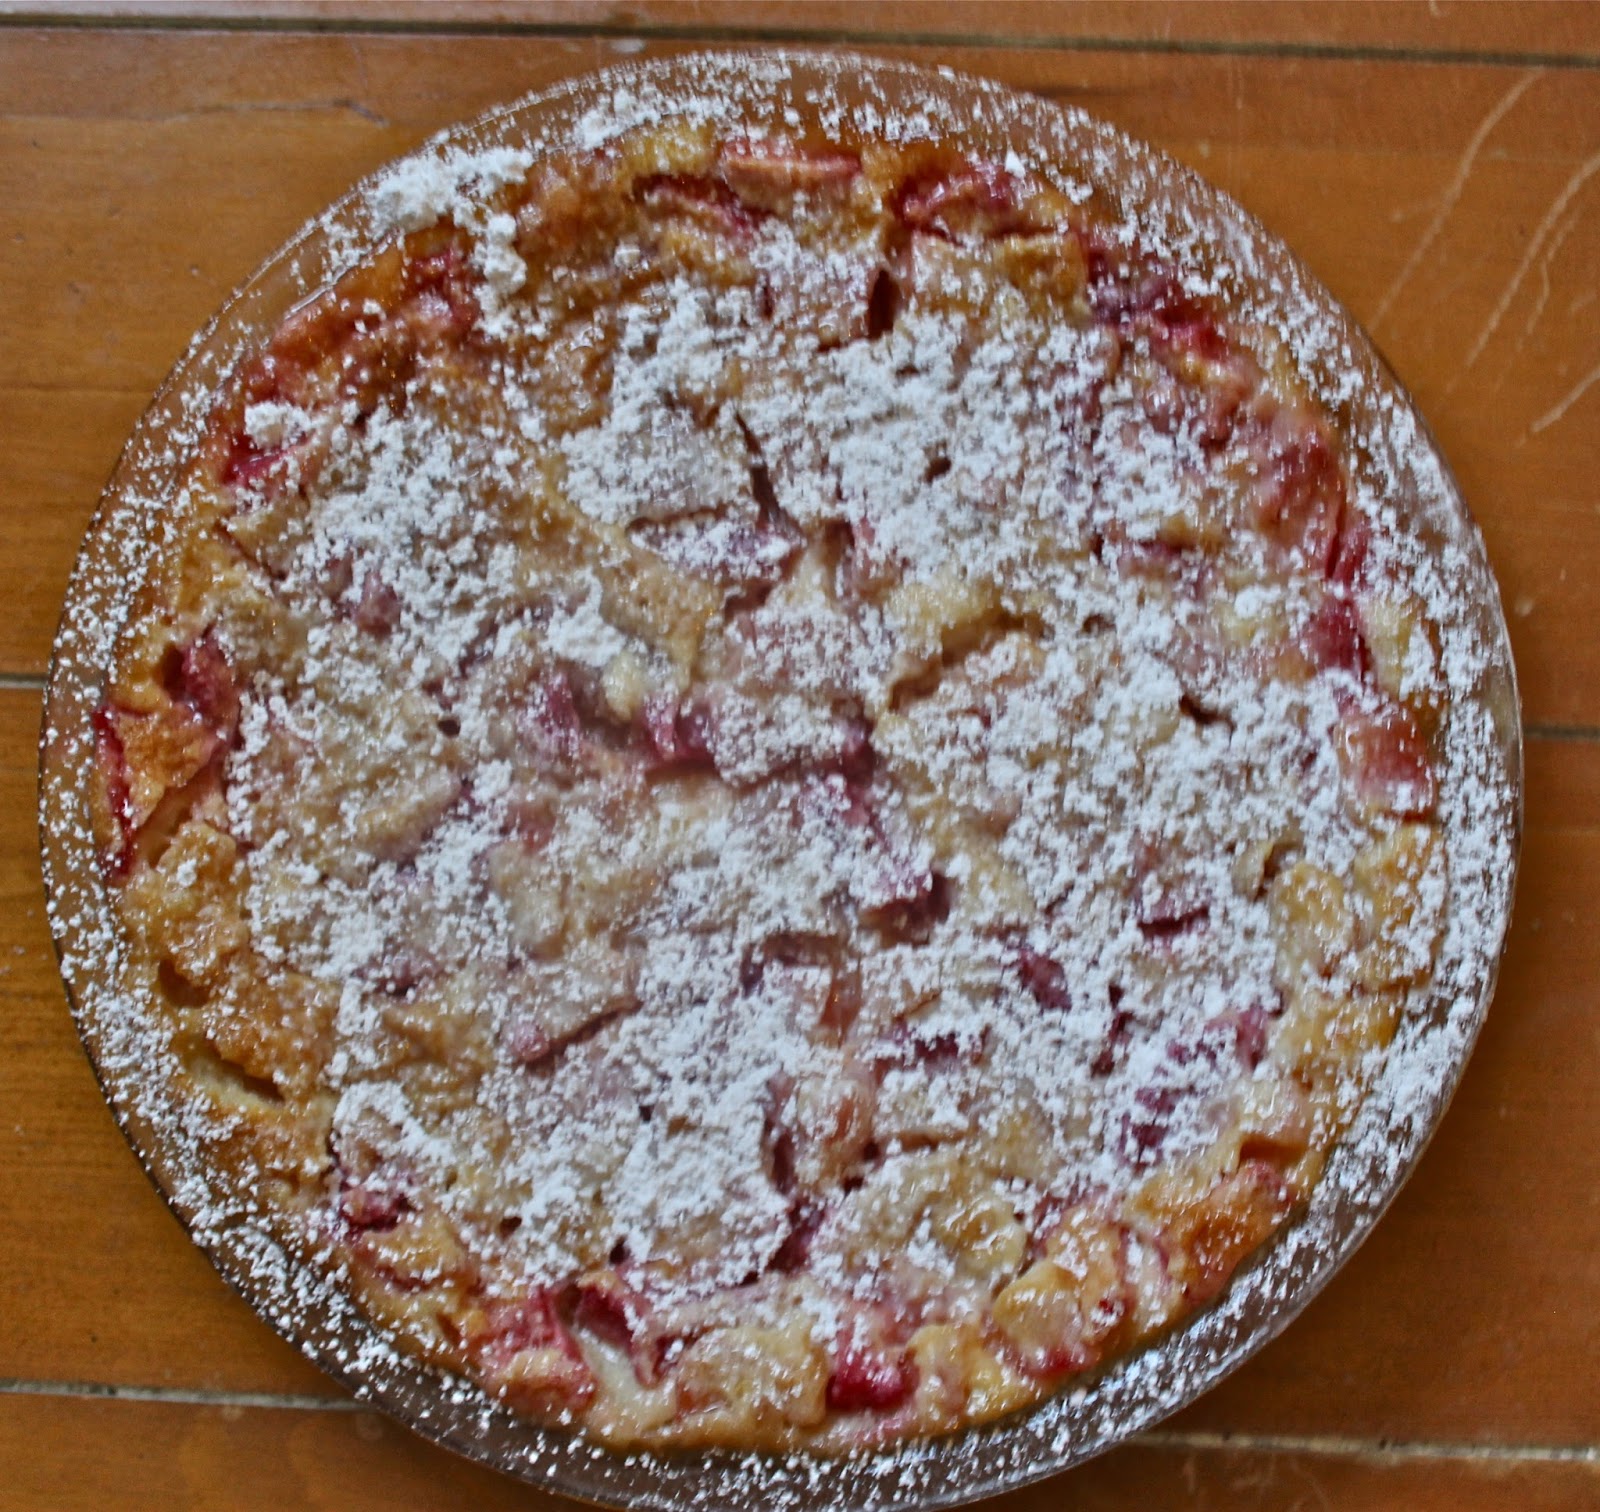
        This is an awesome recipe because it is essentially a foolproof custard. You do not have to scald the cream mixture first and there is no tempering of eggs. It is as simple of baked custard as you are going to get to make, yet the flavor and texture is in no way compromised. It is rich and creamy, with a smooth mouth feel. The juicy plums made it bright with a fruity sweetness, and the cool temperature made it refreshing to eat. It is perfect for a light pick me up on a hot afternoon yet rich enough for after dinner treat. It is particularly wonderful with the addition of the whipped cream, which achieves a balance of varying delicate textures studded with the bursts of plums throughout each bit. Its one of those desserts you can easily go back for seconds...and you will. So please, please take advantage of the plums in season right now, and put them in this creamy dessert, sure to please your palate and put a smile on your face.
Adapted from Back in the Day Cookbook by Cheryl and Griffith Day

Oven Temperature: 350 F

Equipment: 9-inch pie plate

                     Hand or stand mixer

Ingredients:
4-5 small to medium plums, peeled, pitted and cubed
4 large eggs, separated (keep whites cold until ready to use)
1 C sugar
1/2 TSP fine salt
2 TBPS unsalted butter, melted
1 TBPS all-purpose flour
1/2 TSP vanilla extract
1/2 TSP almond extract
1 C whole milk, at room temperature
Optional:
Powdered Sugar for Dusting
Whipped Cream for serving
Instructions:
1. Preheat oven to 350F and position rack in lower third of oven.
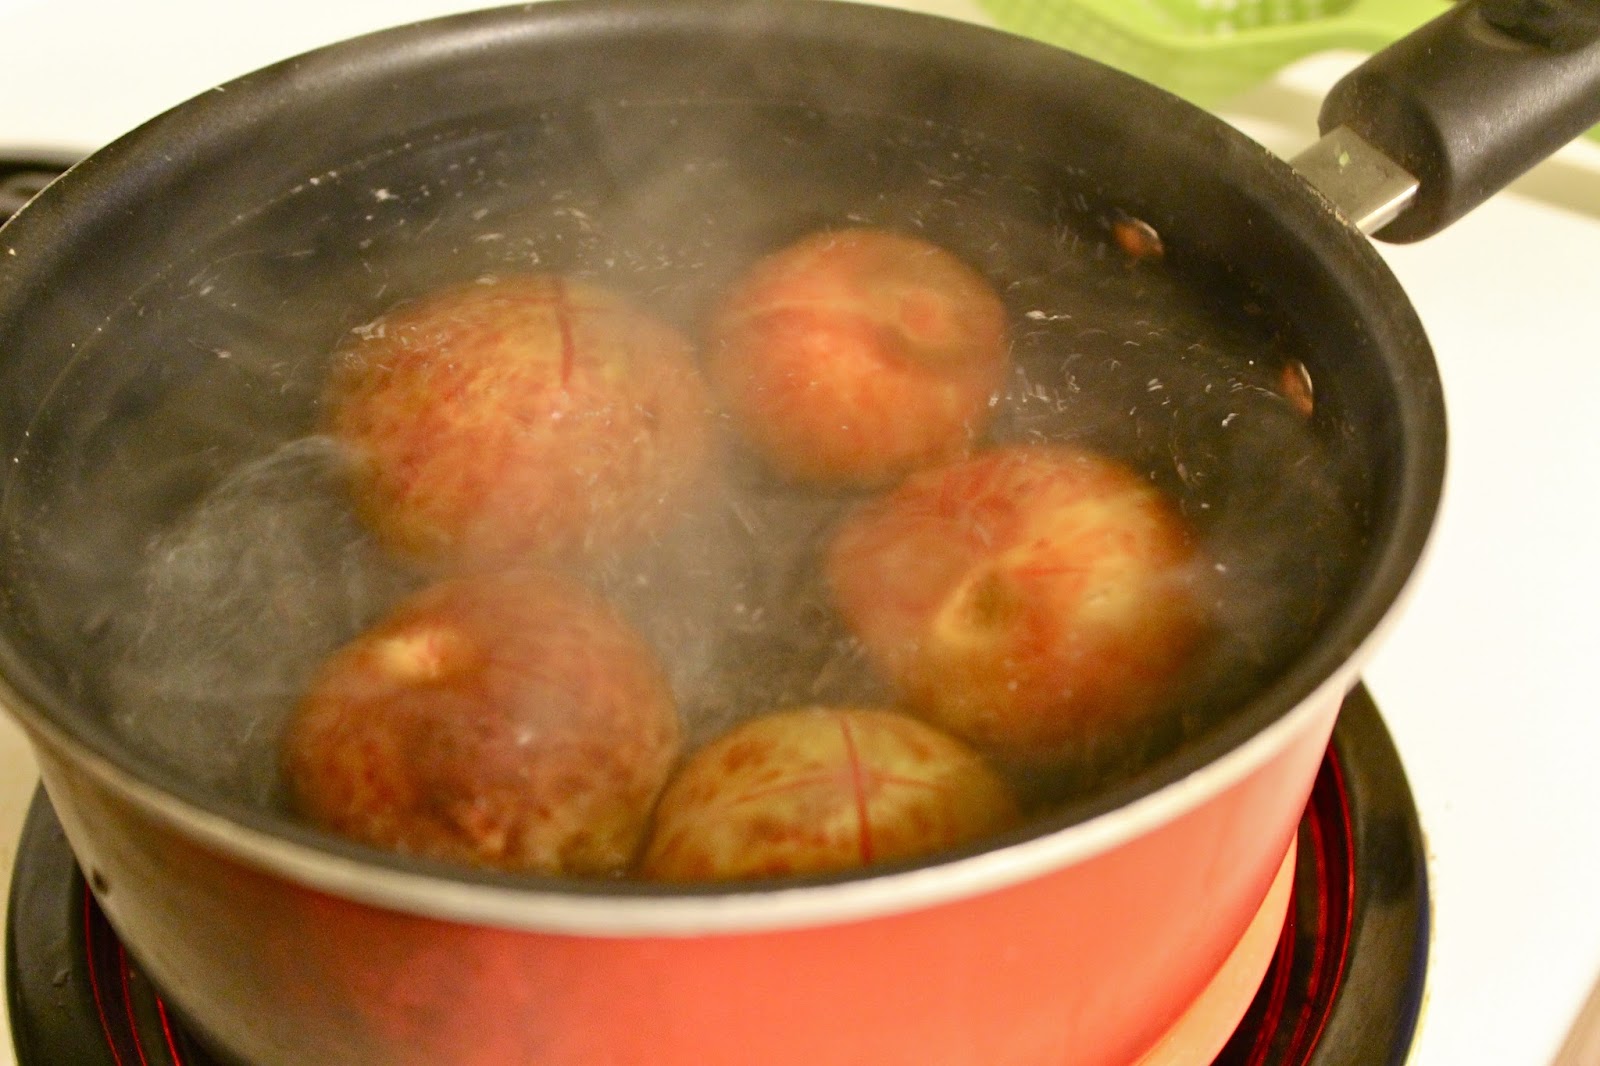
2. To prepare the plums: Bring a pot of water to a boil. Cut small crosses on the tops and bottoms of the plums. When the water is boiling, drop the plums into the pot for about 60 seconds (you will see the skins begin to peel back. The time may vary depending on ripeness so watch them and pull when you see this effect.) Transfer plums into a bowl of ice-cold water. Remove plums and you should now be able to easily peel the skins off just with your hands. Cut around the pit, remove flesh and cube the plums into small pieces.
3. Line the bottom of the pie dish with the plums in a generous layer (about 1/2 way up the side of the pie plate).
4. In a medium bowl, whisk together the egg yolks and sugar until blended.


5. One at a time, add the salt, melted butter, flour, extracts, and milk, whisking thoroughly between each addition until the ingredients are combined.
6. Using a stand or hand mixer, whip the egg whites on a high speed until soft peaks have formed. Watch carefully, as whites can go through the stages of whipping very quickly.
--A soft peak will have a white and slightly glossy appearance. When you lift your whisk with some of the mixture, it will have a peak, but it will fall over to the side.
7. At a lower speed, whisk in the egg yolk mixture until it take on the look of a light custard (about 2 minutes, but again watch during the process and look for that custardy appearance.)
8. Pour the custard over the plums and bake for 30-40 minutes, until the edges are set, there is slight browning on top and the middle still jiggles just a little.
9. Remove from oven and allow the custard to cool.
10. Just before serving, dust with powdered sugar and top with a small scoop of whipped cream.
Making whipped cream: This is always worth the minimal effort it takes to make fresh whipped cream at home. It is so significantly better every time and so easy.
Simply combine 1 C of heavy whipping cream, 1-2 TBSP of powdered sugar, and a splash of vanilla extract. Beat with a hand mixer until you have achieved stiff peaks and dollop the finished product on top of your dessert.
Happy Baking Folks!
P.S. Fun fact about me: I really love plums! They are beautiful and delicious.