Showing posts with label Comfort. Show all posts

Sunday, March 23, 2014

Peanut Butter Cookies

     The creation of these cookies led to the most embarrassing baking-centered disaster I have ever had. That is not to say that if you make these cookies this will happen to you, because quite frankly, it could only happen to a person at their most illogical and flight-minded moment. Let us begin:
      The other day I had an hour and a half before work. I needed to cook and eat lunch, pack dinner, and bake cookies to photograph. I finished making lunch and simultaneously placed my cookies in the oven. I took off my mitt and went over to the table to eat. I thought something smelled off about my dish-was the mustard bad? Was the tofu funky? Finally, I realized the bottom edge of the oven mitt was touching the burner that had just been on and was still wicked hot. I examined the oven mitt that was pouring smoke, and I could see the embers in it. 
      I calmly went to the outside door of my building, held it open and proceeded to do the stupidest thing I could have. I tried to hit the mitt against the stone wall...swinging it back and forth in the sweet oxygen-fueling air that fires love so much. At this point, the back parking lot was full of smoke and the glove was obviously beginning to pick up speed in its disintegration. I realized my absent mindedness, folded up the glove so the hot part was on the bottom and stepped on the un-damaged area with my barefoot. The smoke was dissipating and I relaxed. However, I relaxed to the point that my arm let the building door gently close. No shoes, no phone, no key, I was locked out...meanwhile, the oven mitt was still burning away.
      The parking lot was empty so I decided to walk around to the front, carrying the burning mitt. Lucky for me, a police car happened to be sitting right on the side of the block. When I explained to him what had happened he looked down and just said, "Um, yeah, that oven mitt is still on fire, so I am going to need you to put that out..." When I responded that I didn't have shoes on and he got out to assist. 
      We went around the building and he tried to pick the lock. With no success, he had me bang on the front door, as he walked around and hit all the windows he could with his flashlight to try to get someone to answer. I knocked away with looming knowledge that I still had cookies in the oven and work in an hour.
      We couldn't get anyone so he walked back down to the street and radioed in "...The party cannot gain entrance to the building..." Within four minutes though, I realized how dramatic he must have made the situation seem. A multitude of sirens were coming from all directions. No less than five fire trucks, three police expedition cars, and an ambulance rushed to the scene of me covering my face with my hands, simultaneously crying and laughing in embarrassment, barefoot in my sweatpants. Neighbors came out to see the spectacle and stare at me, while in the meantime I prayed no one tell them this was simply over peanut butter cookies.
     The firefighters busted into the building, carrying their giant extinguishers and returned to the front door about a minute later to ask me to come with them. Upon entrance, they had pulled the cookie out of the oven and turned it off. Miraculously, they had not burned and still looked and smelled delectable. So, I did what any baker would do in this situation. "Oh my goodness, I am so sorry. I am so embarrassed. Oh my goodness...do you guys want cookies??"
      One of the firefighters and I chatted about the use of Silpats and I highly recommended them for even browning and easy clean up while also continuing to apologize about every five words. After a few minutes, the men left, I finished my lunch, put in new cookies with no disaster or oven mitt involved. RIP Mitty, looks like its just me and kitchen towels for protections for now. You did me well, I am sorry I cannot say the same for you. 

Adapted from Alice Medrich's "Chewy, Gooey, Crispy, Crunchy, Melt-In-Your-Mouth Cookies"

Ingredients:
1 1/2 C all-purpose flour
1/2 TSP baking soda
3/4 fine sea salt
8 TBSP butter, unsalted, melted
1/4 C packed brown sugar
3/4 C granulated sugar
1 egg
1 TSP vanilla extract
1 1/4 natural, salted peanut butter, smooth (stirred)
1/3-1/2 C roasted, salted peanuts 

Instructions:
1. Whisk together the flour, baking soda, and salt in a medium mixing bowl.
2. In a large mixing bowl, mix together the butter and sugars. 
3. Add the egg, vanilla,and peanut butter and mix until incorporated. Add in the peanuts stir to incorporate.
4. Add the flour mixture to the wet-ingrediants and stir until no more flour streaks are visable. It is a thick dough.
5. Flatten into a disk, wrap tightly in plastic wrap and refridgerate for 2 hours to 3 days. 
6. When you are ready, take out the dough to warm up for 15 minutes and preheat the oven to 350F. Then, scoop the dough into balls and flatten with your hand or the back of a glass.
7. Bake for 13-17 minutes (less if you want softer and chewier and longer if you want a bit more crumbly-they are good both ways but the lesser time was my favorite!)
Store in an airtight container for up to 2 weeks!

Love, 
Boulder Butter

Sunday, February 16, 2014

Citrus Baked French Toast

        I must let you guys know the most important fact about this before I go any further: it is the most ridiculously simple, sweet breakfast, which yields irresistible results. You can throw it together in minutes the night before, get up on a lazy morning and put it in the oven for 30 minutes. Sip on your coffee and relax, then voila yourself and others will beam with happiness. 
      French toast already has a simplicity appeal.  However, this kicks it up a notch to essentially all hands off in the morning with still getting to eat an epic breakfast. Isn't that just so awesome? 
     It was particularly perfect for my purposes of a brunch potluck on Sunday. The night before, my roommate and I went out to a concert that we had been long awaiting. Around 8 o'clock, I took the whole 10 minutes this requires to put it together, placed it lovingly in my fridge, and prepared to dance the night away. 
        After a luxurious sleep-in sesh the next morning, I woke up, took it out of the fridge, preheated the oven, and popped it in. I walked away and got ready for company-you might be able to hear my sigh of relaxation right now. Thirty minutes later, I was meet with puffy topped, golden brown, custardy, warm, blissful French toast and the guests began to arrive. My friend was kind enough to bring a whiskey and cayenne maple syrup that make the custardy texture and bright citrus flavors simply sing with happiness in my mouth. 
      For brunch party folks or those simply wanting a mouth-watering, smell-wafting dish in their house on a lazy Sunday morning, I cannot emphasize enough how much this is for you. A lot of baked French toasts call for much more of everything: more eggs, both milk and cream, more this, more that. I can fully attest it is not necessary for the texture you seek. You only need the basic things you probably already have on hand to create a whimsical weekend morning of French toast, coffee, and appreciation of the finer things in life. 

Ingredients:
1 loaf challah (nothing fancy needed)
3 c whole of 2% milk 
3 eggs
3 TBSP butter
3 TBSP brown sugar
1/2 TSP salt
1/4 TSP cinnamon
Dash of nutmeg
Zest of 1 orange and 1 lemon

Instructions: 
1. The day before, slice the challah in 3/4-1" slices. Lay it out and let it sit on your counter for the day, flipping over when you happen to be in the kitchen (no worries if you're not around though).
2. At night, arrange the slices in a 9x13 baking dish in two layers. Sprinkle half the zest on the first layer, lay down the second, and sprinkle the rest on top. 
3. In a bowl, melt the butter, let it cool for a few minutes. Next, whisk in the milk, eggs, brown sugar, salt, cinnamon and nutmeg. 
4. Pour the mixture over the bread, cover, and place in the fridge over night. 
5. The next morning, take the French toast out, uncover and let it sit out while the oven preheats to 350F. Bake for 30 minutes until the top is lightly golden and puffed up. Remove, cool for 5 minutes and serve with butter and maple syrup.  


For the Whiskey Maple Syrup:
Melt 4 TBSP of butter in a sauce pan over low heat. Next add in 2 C pure maple syrup, 1/4 TSP cayenne, a dash of cinnamon and nutmeg, 1/4 C+ 1 TBSP whiskey, and stir until the ingredients have mixed together evenly. Remove from heat, allow the syrup to cool, and transfer into a glass serving bottle. 
This could be you. 
Love,
Boulder Butter 

Thursday, February 6, 2014

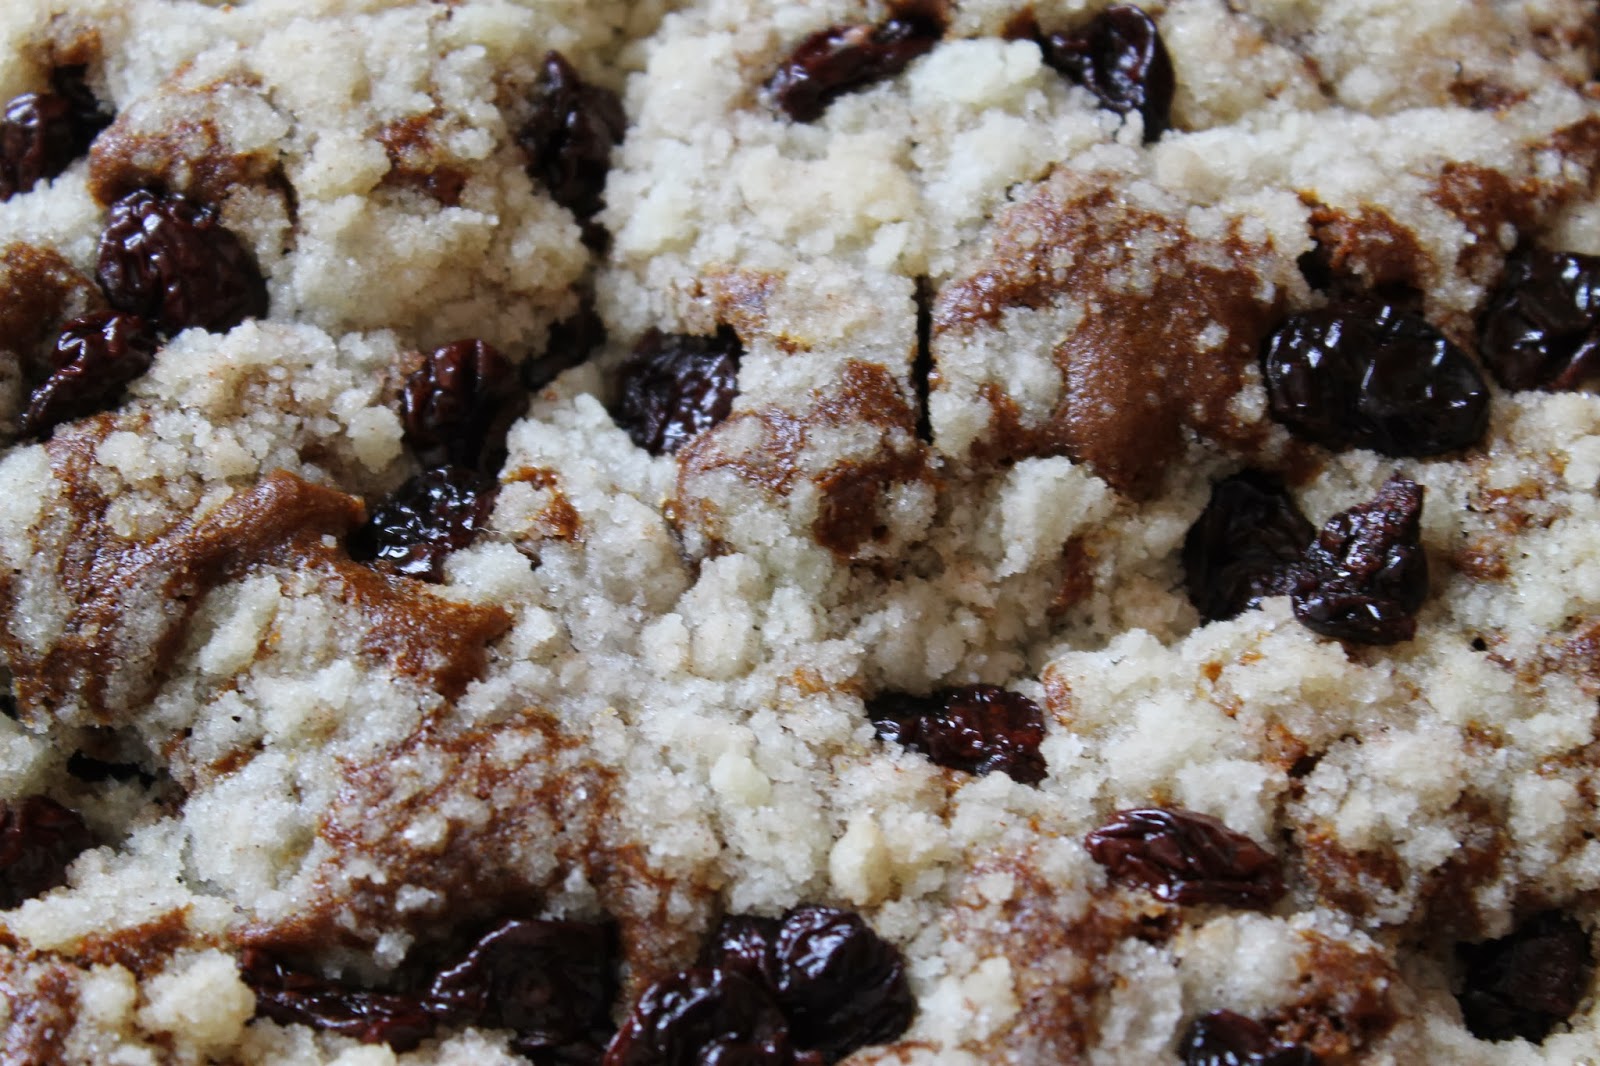
Gingerbread Cake with Cranberry Streusel

       So it may seem I once again disappeared between posts for a while, but I can assure you this recipe is worth the wait. Last week, I tested a new baking book's banana muffins, not intending to blog them since it was my first time using that source. They were brilliant: little nuanced additions and techniques created the most decadently creamy and moist banana bread I've ever had. Alas, I had no photos, so I could not share them. (Not to fret, that recipe will come.) Then three days of dedicated banana muffin eating passed by and I reentered the kitchen with a new baking project. I prepared a post, took photos and was excited to share, only to find out in the end, my peanut butter ice cream was a disaster I could bare pretend worth sharing. So finally, at the start of a bitterly cold week in Colorado, I made the ideal winter snacking cake-and it is absolutely worth sharing.
       It is a deep ginger bread cake, with robust dark molasses, which needlessly to say, pairs well with the heavy ginger spices. Other notes of cinnamon, nutmeg, and clove dance around to add complimentary warmth. The molasses is met with equal parts honey that brings of a more floral sweetness to the cake, particularly around the edges where the heat directly caramelizes it. However, it is the most subtle difference which will enhance the cakes tons, but be the ingredient that people cannot figure out what is slightly different. 
        Then comes my favorite part: the topping. The cake is covered with a crunchy, light streusel. It forms crunchy bites of sweetness sprinkled all over. Next to the natural bitterness of molasses and ginger, it could not be a more perfect compliment. I know if most people add dried fruit to gingerbread, the go with candied ginger, but I am telling you, cranberries will quickly change your mind. They are equally warm in profile to the cake base, enhancing its natural and desirable qualities. They then give a sticky, soft contrast to the crunchy streusel and tartness to the sweet. The bottom is warm and happy and the top is to die for. Digging your fork through them both and getting a thick bite is just what you should do to survive this horrendous cold. Serve it with tea and you are in business. 
Cake portion adapted from Joy of Cooking by Irma S. Rombauer and Marion Rombauer Becker

**This cake is very specific to high altitude adjustments. You can use the streusel topping anywhere, but if you are not at altitude, please read the changes at the bottom of the page. Then follow the normal instructions starting at #7. 

Ingredients: 
Cake: 
2 1/2 C all-purpose flour, sifted
3/4 TSP baking soda
1/2 TSP salt
1/4 TSP cinnamon
1/4 TSP nutmeg
1/8 TSP clove
1 TSP ginger
1/2 C (1 stick) butter, room temperature
1/2 C sugar
2 eggs
1/3 C+ 1 TBSP dark molasses
1/3 C + 1 TBSP honey
2/3 C boiling water

Topping: 
3 TBSP cold butter
3 TBSP flour
6 TBSP sugar
1 TSP cinnamon
1/3 C dried cranberries

Instructions: 
1. Grease and line a 9" round baking pan. Preheat the oven to 350F
2. In a medium bowl, whisk together the flour, soda, salt, cinnamon, nutmeg, clove and ginger. Set aside.
3. In a large bowl, using a hand mixer, cream together the butter and sugar until light and fluffy. 
4. Add the eggs, one at a time, then beat for another 30 seconds on high, until light and fluffy.
5. Add in the molasses and honey, then beat until fully incorporated. 
6. Switch to a spatula. In 3 additions of flour mixture and 2 additions of boiling water, add the two alternating (starting and ending with the flour) to the liquids. Mix in the ingredients until fully combined, mixing and scraping down the sides between each addition.
7. Pour the batter into the prepared baking dish, even out the top and set it aside.
8. In a small bowl, cut together the butter, flour, sugar, and cinnamon until they have broken into large pea sized clumps.
9. Sprinkle the streusel evenly over top, then sprinkle the cranberries on top as well. 
10. Bake for 40-50 minutes, removing when an inserted knife or toothpick comes out clean of the middle.
11. Let the cake cool for 10 minutes, then invert the cake to remove it from the pan and turn over once more to serve streusel side up. 
The cake is best warm and would be heavenly with a dollop of whipped cream (then again most things would be heavenly with a dollop of whipped cream.)

**For those not at altitude (changes are italicized):
1/2 C Butter
1/2 C Sugar
1 Egg
2 1/2 C AP flour (sifted)
1 1/2 TSP baking soda
1 TSP ginger
1/4 TSP each cinnamon and nutmeg
1/8 TSP clove
1/2 TSP salt
1/2 C dark molasses
1/2 C honey
1 C boiling water

1. Melt the butter and allow to cool.
2. Beat together the egg and sugar.
3. Stir in the butter to the eggs and sugar.
4. In a separate bowl sift all the dry ingredients together.
5.  In another bowl, combine the molasses, honey and water.
6. Add the dry mixture and wet mixtures alternating as described in step 6 above. 
   Continue with the recipe as normal from here. 


Wednesday, September 25, 2013

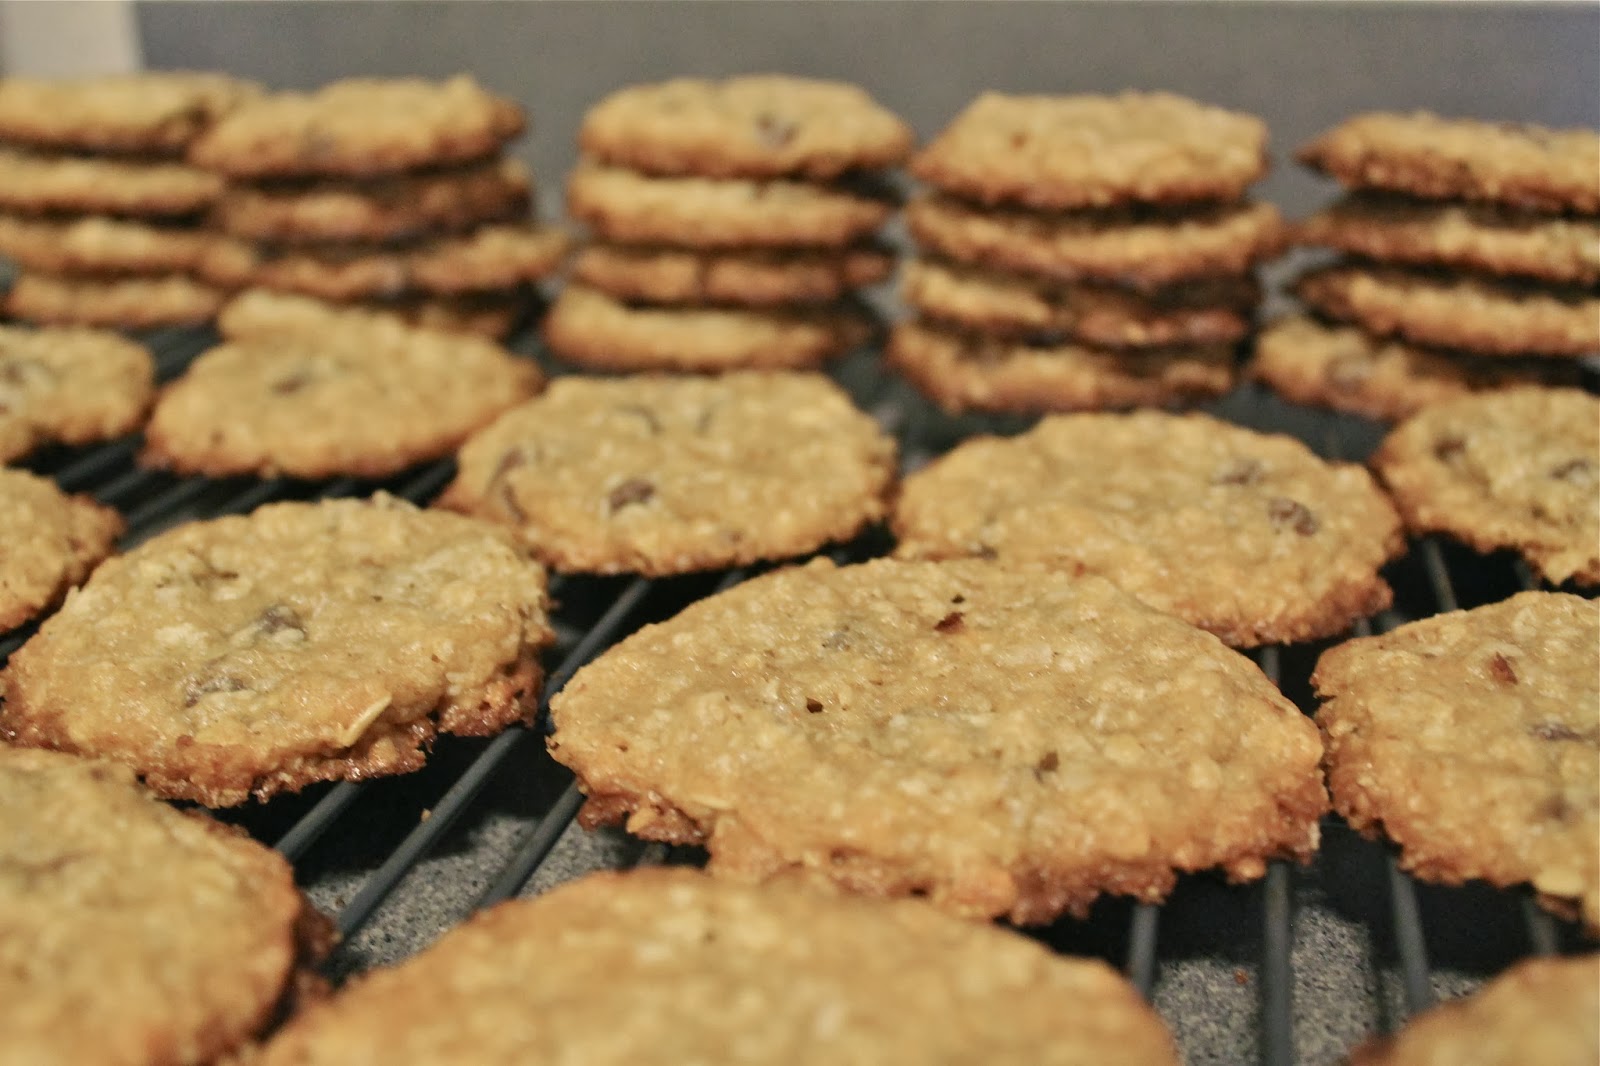
Oatmeal-Coconut Chocolate Chip Cookies

       There comes a time in life that we all need a little comfort.  Sometimes work gets to you, sometimes you miss your family, sometimes you take an unexpected financial hit, and sometimes it just because the days are getting shorter and you like the sun. We all need comfort for different reasons, but in the end something warm and reminiscent of good things can change the way you feel on any given day. Personally, it is one of the reasons I like hugging so much. It is like a warm, gooey, happy wrapping of love around me, and it makes me smile.
       With this, I would propose that cookies are the hugs of the baking world. I mean really, aren't they just warm, gooey, happy wrappings of love in your mouth, sliding sweetly down to your stomach to spread the comfort of home on even your worst of days? Yes...I think we should all make an effort to give more hugs and eat more cookies. It seems like a happier life.
      I had a friend the other day comment how cookies aren't "good" for you in the nutritional sense, but a chocolate chip cookie is definitely good for you. Its good for your soul, and that is an equally important part of the self to pay attention to. So when you eat a cookie, please for the love of pastry, do not feel guilty. Instead, feel happy that you are doing something for your soul that day. Maybe it will even inspire you to pass on a hug...and then you are doing some good for the soul of society.
            Wow--Boulder Butter just got super deep, you may say. You may also say, "Alright, that is all nice and good, Maisie, but what is this comforting cookie you are proposing I eat?" Well, I propose more than just eating your cookie today. I think when we make our own food, the soul-soothing vibes increase even more. So today is definitely the day for you to get out your cookie sheets, flour, sugar, and definitely, most definitely butter to make Oatmeal-Coconut Chocolate Chip Cookies. Reminiscent of both the most classic cookies from home, Oatmeal Raisin and Chocolate Chip, these have the best of both worlds. Plus, the coconut contributes a delicious chewy sweetness. And they are buttery. Oh so buttery. How I love buttery. Chewy in the middle and crispy on the edges, these decadent yet simple treats provide that dose of homey comfort we all need once in a while. I reckon they belong in your belly along with a glass of milk very, very soon!
Oven Temp: 350 F

Ingredients:
1 1/4 C All-Purpose Flour
1/4 + 1/8 TSP Baking Soda (at high altitude)*
1/4 TSP Fine Grain Salt
1 TSP Ground Cinnamon
1/4 TSP Ground Nutmeg
1/4 TSP Ground Cardamom
1/2 lb. (2 Sticks) Unsalted Butter, room temp.
1 C. Granulated Sugar
1/2 C Packed Light Brown Sugar
2 Large Eggs, room temp.
1 TSP Vanilla Extract
2 1/4 C Old-Fashioned Rolled Oats
1/2 C Sweetened Shredded Coconut
1 2/3 C Chocolate Chips
*At sea level, use 1/2 TSP Baking Soda

Instructions:
1. In a medium bowl sift together flour, baking soda, salt, cinnamon, nutmeg, and cardamom.
2. In a large bowl with a hand mixer, or in the bowl of a stand mixer, beat butter to a lightly creamed state; add white sugar and continue to cream the two together; finally add brown sugar in the same fashion. The process should take 3-5 minute and will result in a light colored mixture with a fluffy texture.
3. Beat in eggs, one at a time, until incorporated.
4. Beat in vanilla extract.
5. Optional: Combine oats and coconut in bowl of food processor and pulse a few times to break down some of the pieces into smaller bits.
6. Add coconut and oats to wet mixture and mix until just combined.
7. In 2-3 additions, add in the flour mixture until just combined.
8. Remove bowl from mixer and switch to a rubber spatula. Scrape down sides of bowl and work around bottom to make sure ALL excess flour is incorporated.
9. Fold in chocolate chips.
10. Transfer dough to an airtight container or zip lock bag and put dough in the fridge to chill overnight (8-24 hours of rest time for best results).
11. Remove dough, and allow it to come up to a temperature you are able to scoop it out into balls. Meanwhile, preheat oven.
12. Form even 1in balls, place them equidistance apart on a cookie sheet and press down lightly with a spoon or fingers.
13. Bake for 9-12 minutes until edges are golden brown.
14. Allow them to cool on a rack and then enjoy the crispy, chewy delights you have just made! Then give someone a cookie and a hug.