Showing posts with label Ginger. Show all posts

Thursday, May 1, 2014

Oatmeal Ginger Cream Pies

       Be aware: I do not write the follow declarations lightly. If I ever had a small bakery, these would be a consistent menu options. They are downright phenomenal. The cookie is so perfectly chewy; I was shocked when I first bit into it. The texture is something I have strived for in many a cookie and when I finally achieved it in this one, I felt pure glee wash over me. 
       The oats are packed in to make a deliciously deep flavor and with the brown sugar, they create the most scrumptious sweet and nutty sensation. Now, I am not one of those people who rave about the healthy stomach benefits of crystalized ginger and truth be told, I am not its biggest fan. The one time I tried to eat it plain, I spit it out (just the honestly you needed, I am sure). However the way it plays with the sweet and simple cookie around it, and the harmony it has with the filling made me a lover. The large, chewy pieces of deep ginger flavor and hits of warm spice are how I want my oatmeal and ginger fed to me from now on. 
      Finally, the middle...the middle was what took this cookie from just being my happiness in a small little circle to being a wiggle back and forth, smile on my face, and pure joy of knowing this cookie was all I could ever ask of it to be. It was a simple combination of cream cheese, powdered sugar and plenty of vanilla. The plain cream cheese (no butter) base created an intensely creamy and tangy flavor profile next to the oats and ginger which I am convince made each of them taste their best. The large amount of vanilla used created a delicious, warm, simple and sweet accent that mellowed everything else out. 
     When I was making this cookie, I was not expecting to be head over heals for it you guys, but I am telling you, do not take this baby lightly. It will bring you kitchen bliss and if you have ever enjoyed a Little Debby Cream Pie, I am really positive you will completely forget about those very promptly.
Adapted from The Beekman 1802 Heirloom Dessert Cookbook's "Oatmeal Cream Pies with Ginger Cream"
Makes approximately 11 cookie sandwiches a.k.a. packages of love

Cookies
3/4 C all purpose flour
1/2 TSP baking powder
1/2 TSP baking soda
1/2 TSP ground cinnamon
1/4 TSP fine salt
3/4 C rolled oats
3/4 C instant oats
8 TBSP (1stick) unsalted butter, room temperature
1/4 C granulated sugar
3/4 C light brown sugar, packed
1 large egg
2 ounce (approx. 1/3 C) chopped crystalized ginger
Filling
1 package (8 ounces) full-fat cream cheese, room temperature 
1/3 C powdered sugar
1 1/2 TSP vanilla extract

1. Sift together the flour, baking soda and powder, cinnamon and salt in a mixing bowl. Add in the oats. 
2. In a stand mixer (or with a handheld mixer) beat together the butter and sugars until light and creamy-desired texture pictured here. Add in the egg and beat until combined on low speed, then continue for an additional 20 seconds on medium speed.
3. On low speed, slowly add the dry ingredients, scraping down the sides a few times until the mixture is fully combined (do not over mix here!) Remove the bowl from the stand mixer and fold in the crystalized ginger with a spatula.
4. Form the dough into an inch thick round and wrap it tightly in plastic wrap. Let it chill in the fridge for 4-24 hours (the longer rest time is better). 
5. Remove the dough and let it come up to room temperature for about an hour before baking. When ready, preheat the oven to 350F and scoop the dough into rounds on a sheet tray (I used a 40 scoop, making 22 cookies**)
6. Bake the cookies for 13 minutes, rotating the sheet trays at 6 minutes. Remove from the oven and allow the cookies to cool for 5 minutes before transferring to a cooling rack.
7. To make the filling, beat the cream cheese for a few seconds, and then add the powdered sugar and vanilla extract. Beat until thoroughly combined and some air has entered the mixture. 
8. Once the cookies have completely cooled, spread a dollop of the filling evenly over half of the cookies. Top with the other halves and melt into happiness when you dig in!
   Because of the cream cheese filling, these will need to be refrigerated the majority of the time, however you can take them out for 2 hours to come up to room temperature before eating if that is what you prefer; I do.

**Note: If you make cookies even once a year, buy one of these! It makes it so much easier and your cookies will bake evenly. You can buy various sizes depending on your cookie size preference. The larger ones are also a good way to measure out scoops of muffin or cake batter. I cannot stress how useful they are!  Look around for what you like or go to a kitchen store and they should have plenty of options :) P.S. They would also make a great way to measure equal filling amounts in all of the cookies. 

Love,
    Boulder Butter

Thursday, February 6, 2014

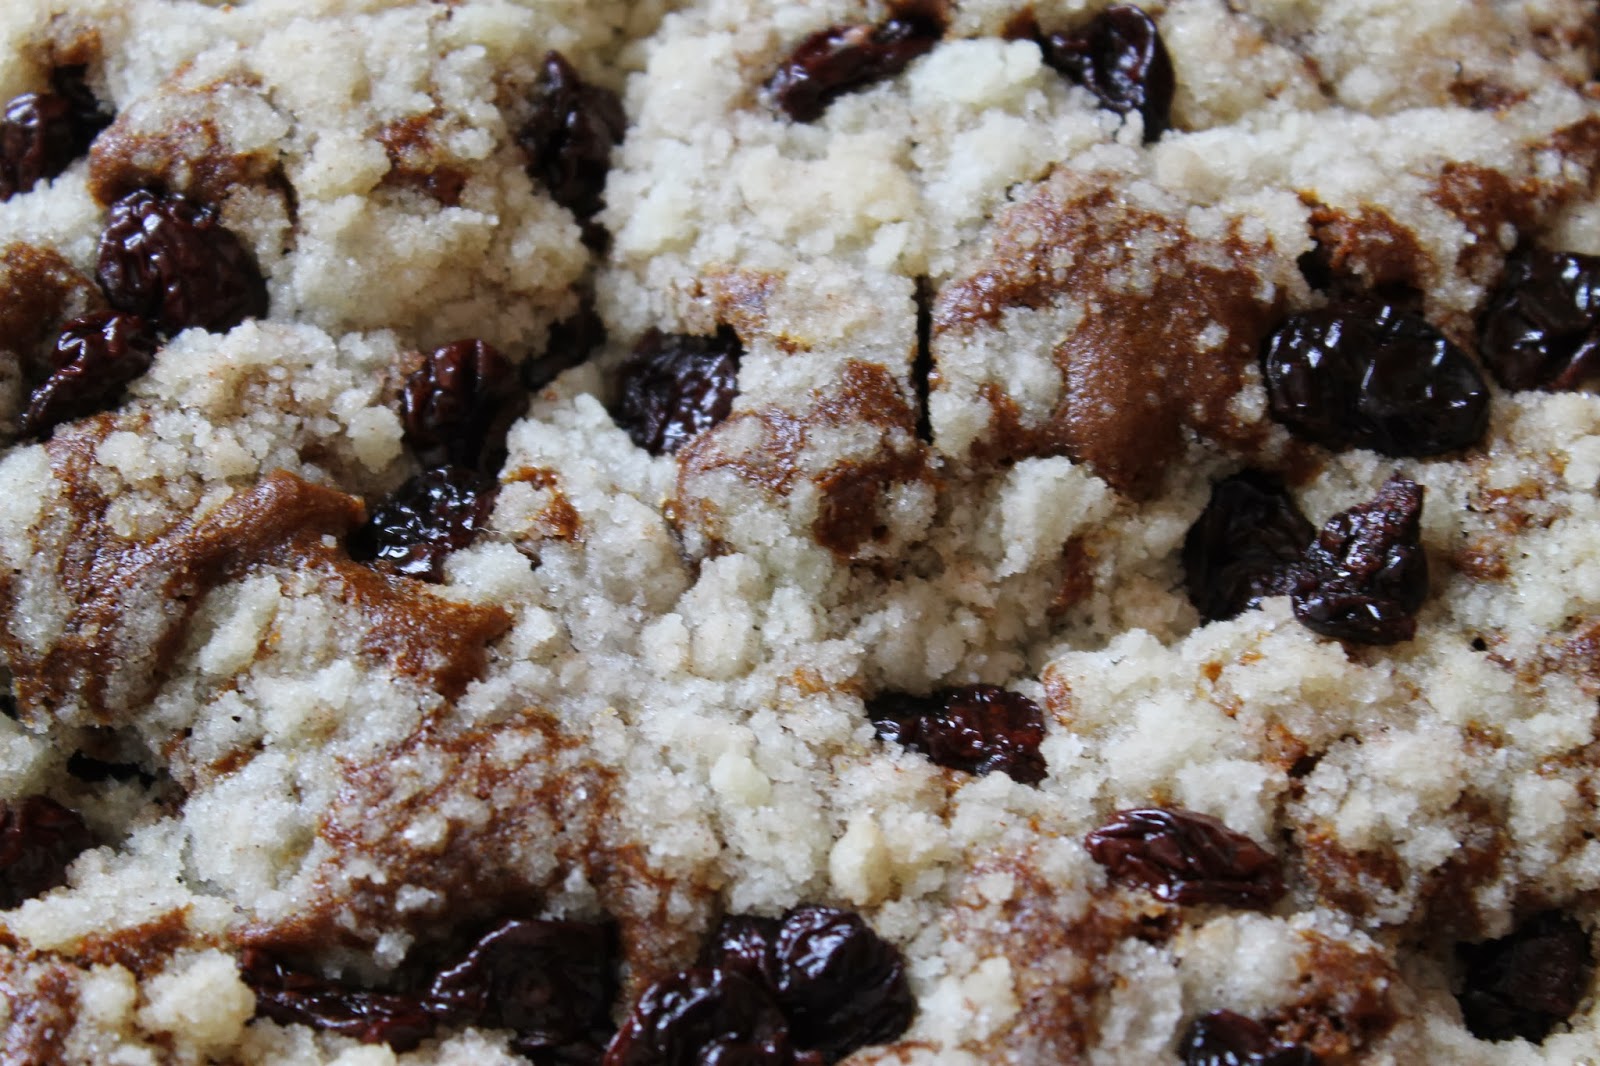
Gingerbread Cake with Cranberry Streusel

       So it may seem I once again disappeared between posts for a while, but I can assure you this recipe is worth the wait. Last week, I tested a new baking book's banana muffins, not intending to blog them since it was my first time using that source. They were brilliant: little nuanced additions and techniques created the most decadently creamy and moist banana bread I've ever had. Alas, I had no photos, so I could not share them. (Not to fret, that recipe will come.) Then three days of dedicated banana muffin eating passed by and I reentered the kitchen with a new baking project. I prepared a post, took photos and was excited to share, only to find out in the end, my peanut butter ice cream was a disaster I could bare pretend worth sharing. So finally, at the start of a bitterly cold week in Colorado, I made the ideal winter snacking cake-and it is absolutely worth sharing.
       It is a deep ginger bread cake, with robust dark molasses, which needlessly to say, pairs well with the heavy ginger spices. Other notes of cinnamon, nutmeg, and clove dance around to add complimentary warmth. The molasses is met with equal parts honey that brings of a more floral sweetness to the cake, particularly around the edges where the heat directly caramelizes it. However, it is the most subtle difference which will enhance the cakes tons, but be the ingredient that people cannot figure out what is slightly different. 
        Then comes my favorite part: the topping. The cake is covered with a crunchy, light streusel. It forms crunchy bites of sweetness sprinkled all over. Next to the natural bitterness of molasses and ginger, it could not be a more perfect compliment. I know if most people add dried fruit to gingerbread, the go with candied ginger, but I am telling you, cranberries will quickly change your mind. They are equally warm in profile to the cake base, enhancing its natural and desirable qualities. They then give a sticky, soft contrast to the crunchy streusel and tartness to the sweet. The bottom is warm and happy and the top is to die for. Digging your fork through them both and getting a thick bite is just what you should do to survive this horrendous cold. Serve it with tea and you are in business. 
Cake portion adapted from Joy of Cooking by Irma S. Rombauer and Marion Rombauer Becker

**This cake is very specific to high altitude adjustments. You can use the streusel topping anywhere, but if you are not at altitude, please read the changes at the bottom of the page. Then follow the normal instructions starting at #7. 

Ingredients
Cake: 
2 1/2 C all-purpose flour, sifted
3/4 TSP baking soda
1/2 TSP salt
1/4 TSP cinnamon
1/4 TSP nutmeg
1/8 TSP clove
1 TSP ginger
1/2 C (1 stick) butter, room temperature
1/2 C sugar
2 eggs
1/3 C+ 1 TBSP dark molasses
1/3 C + 1 TBSP honey
2/3 C boiling water

Topping: 
3 TBSP cold butter
3 TBSP flour
6 TBSP sugar
1 TSP cinnamon
1/3 C dried cranberries

Instructions: 
1. Grease and line a 9" round baking pan. Preheat the oven to 350F
2. In a medium bowl, whisk together the flour, soda, salt, cinnamon, nutmeg, clove and ginger. Set aside.
3. In a large bowl, using a hand mixer, cream together the butter and sugar until light and fluffy. 
4. Add the eggs, one at a time, then beat for another 30 seconds on high, until light and fluffy.
5. Add in the molasses and honey, then beat until fully incorporated. 
6. Switch to a spatula. In 3 additions of flour mixture and 2 additions of boiling water, add the two alternating (starting and ending with the flour) to the liquids. Mix in the ingredients until fully combined, mixing and scraping down the sides between each addition.
7. Pour the batter into the prepared baking dish, even out the top and set it aside.
8. In a small bowl, cut together the butter, flour, sugar, and cinnamon until they have broken into large pea sized clumps.
9. Sprinkle the streusel evenly over top, then sprinkle the cranberries on top as well. 
10. Bake for 40-50 minutes, removing when an inserted knife or toothpick comes out clean of the middle.
11. Let the cake cool for 10 minutes, then invert the cake to remove it from the pan and turn over once more to serve streusel side up. 
The cake is best warm and would be heavenly with a dollop of whipped cream (then again most things would be heavenly with a dollop of whipped cream.)

**For those not at altitude (changes are italicized):
1/2 C Butter
1/2 C Sugar
1 Egg
2 1/2 C AP flour (sifted)
1 1/2 TSP baking soda
1 TSP ginger
1/4 TSP each cinnamon and nutmeg
1/8 TSP clove
1/2 TSP salt
1/2 C dark molasses
1/2 C honey
1 C boiling water

1. Melt the butter and allow to cool.
2. Beat together the egg and sugar.
3. Stir in the butter to the eggs and sugar.
4. In a separate bowl sift all the dry ingredients together.
5.  In another bowl, combine the molasses, honey and water.
6. Add the dry mixture and wet mixtures alternating as described in step 6 above. 
   Continue with the recipe as normal from here. 


Sunday, November 17, 2013

Pumpkin Cake Squares + Baked Spice Cream Cheese Frosting

        I know I am a little late pumpkin excitement. October has already passed and peoples initial "gee-wiz its back!" has long been replaced by dreams of stuffing, turkey, and most importantly, pecan pie. Today though, I denounce the end of the thrill of pumpkin to bring it back because I am just not done with it. Not even pumpkin in particular, but the winter squash family. Oh my goodness, butternut squash is what I want warm, melting in my mouth on the daily right now; and I am not the biggest fan of stuffed vegetables, but an acorn squash, filled with cranberries, wild rice, and some nuts is enough to drive me into autumnal bliss without even seeing the outdoors. 
       I considered mixing up the squash in this recipe for a funkier note (and that is totally allowed), but I realized, I had not had one of the ultimate combos of the season yet. I had not combined pumpkin with cream cheese and you best be darned, I am not letting November go by without eating those two together. I mean really anything you give me an excuse to put cream cheese icing on, I will; but paired with spices and pumpkin-tangy, sweet, warm, and rich in deep flavors...it was time. I broke out the cream cheese, while the scents of cinnamon, nutmeg, cloves and ginger awoke my nose. I broke into the bag of semisweet chocolate morsels (and admittedly, did nibble on two or three), while the pumpkin called my name from the cabinet.
       These squares were made as my second dish to the La Veta weekend (I mean what is a weekend in the mountains without a freshly baked treat making you want to wiggle your feet in thick socks in happiness). These cake squares are the type of thing you cut into, take a small piece while talking to your friends and feeling the comfort of the flavors find your taste buds. All of a sudden, you find yourself having gone back for another one...and a third. The pumpkin gives the cake deep moisture, and takes away any overly sweetness. It works to balance a warm spice mix and stand up to their powerful notes. The cream cheese baked on top has a sweet touch that sinks down onto the cake and adds a milky mouth feel. It provides the cake an additional moist topping without the overt sweetness sometimes present in frostings. Instead of overpowering the pumpkin cake, it all simply balances together in a wonderful bite of pumpkin-cream cheese bliss Sigh...feel free to take me back to the pumpkin squares now...and for that matter I wouldn't mind returning to La Veta.  
Makes 1 9x13, or 2 8x8 

Ingredients:
Base
2 1/3 C all-purpose flour
2 TSP cinnamon
1/4 TSP ginger
1/4 TSP nutmeg
1 dash of cloves
3/4 TSP salt
16 TBSP butter, room temp (2 sticks)
3/4 C brown sugar
3/4 C white sugar
1 large egg
1 (15 oz.) can pumpkin puree
2 TSP vanilla extract
1 1/2 C chocolate chips (semisweet)
Topping
8 OZ. cream cheese
1/2 C sugar
1/2 TSO cinnamon
2 TBSP whole milk
 *You could also double the cream cheese layer to make a thicker coat. I have not done this but I think I would the next time.

Instructions:
1. Preheat the oven to 350 F and prepare the baking dish(es).
2. In a medium bowl, sift together the flour, spices, and salt.
3. In a larger bowl, beat the butter to begin the creaming, then add in the sugars and continue to cream until the mixture is light and fluffy.
4. Add the egg and continue to beat until incorporated.
5. Add the pumpkin puree and vanilla and beat until incorporated.
6. Switch to a spatula or spoon and add flour in 2-3 additions until just incorporated. Fold in around the sides and bottom to make sure all the flour is mixed in.
7. Fold in the chocolate chips. 
8. Pour the batter into the pans and spread evenly with the back of a grease spatula.
9. In a small bowl, beat together the cream cheese, sugar, milk, and cinnamon, until well combined.

10. Scoop the cream cheese mixture over the pumpkin batter and gently spread with a knife (try not to push down to hard which will begin to mix the pumpkin and cream cheese instead of keeping two layers). 
11. Bake for about 50 minutes until the inside is fully set, an inserted toothpick comes out clean and the edges have started to brown.
12. Remove and allow the cake to cool before cutting into squares.

Tuesday, October 15, 2013

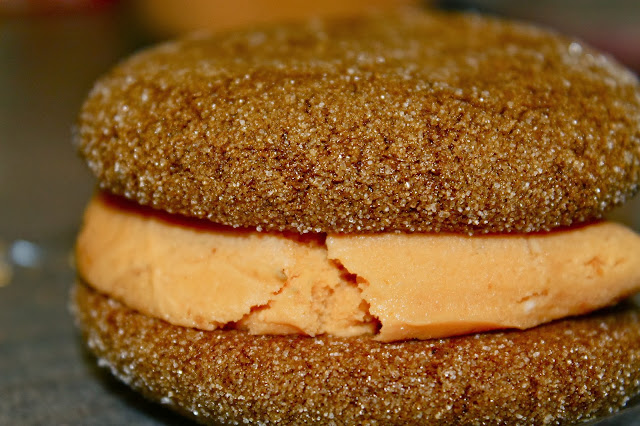
Gingerbread and Pumpkin Ice Cream Sandwiches

         There have been some articles circulating recently about a restaurant in New York that focuses on mindful eating by having patrons arrive by a scheduled time and eat the their entire meal in silence (A Silent Dinner Experience). Instead of focusing on the other distractions we so often put around us during our meals, the mind has the opportunity to think about what it is actually eating. 
       I think we all get a little distracted nowadays. I understand and am in the same boat. I have a phone, a computer, and books I want to read. With how busy we all get it is easy to want to use food time to coincide with "catch-up on the latest time." However, the article I read brought up a very awesome point of today. A meal like this make you focus on your food and puts you in a state of communion between your body and what is nourishing it. Instead of focusing on restricting things, it brings light to what taste good, when it feels good to eat, and how the food is for you as an expierience. 
      I think a practice of mindful eating is great to develop. Rather than having your email open during breakfast, just sit there and let your mind focus on the flavors you are enjoying. Perhaps while you eat dinner with your friends or family, make a point to discuss what you taste and the preparation of dish itself. I definitely do not think we have to eat each meal in silence, but community can be formed not only eating the food together, but also talking about the food together.
        When you eat these cookie sandwiches, try focusing on the pleasure it brings you. For instance, you can focus on the sensations of the different coldness levels between the ice cream and the cookies. Or perhaps ponder the way the texture of the cookie changes while frozen, and how the bite feels against your teeth. Flavors are enhanced with temperature changes, so when foods are hot or cold, they seem more flavorful to us. These cookies have a lot of spice in them, so maybe try focusing on if you can pick out the cinnamon, ginger, nutmeg, and black pepper individually. Also, how do the spices contrast between the cookies and ice cream? Or do you not find they do much at all? Can you find the tang from the sour cream in the ice cream? Think about the elements individually and the experience as a whole. I would be curious when you finished, how you felt it differed from any normal time you eat dessert.  
         I find focusing on the food can bring us a greater level of pleasure. Figuring out why we like something, why it tastes or feels good to us is one way to find a more complete enjoyment of our food in general. Additionally I find it a more holistic way of connecting our bodies with our food. I really believe some things we eat are good for us just because they make us happy. Its one of the reasons I love food and dedicate so much time to it. I love bringing not only myself, but also others happiness through a bite. So maybe just giving that food the attention to allow it to bring us the happiness is the key.
*A note on the recipes: I was asked by a few readers to do a more health conscious post. So for a change of pace, these are non-fat and partially whole-wheat gingerbread cookies. They are out of this world good, and I will make them again as a go to. I trust David Lebovitz's recipes and as always, after using one I remembered why. They were perfectly chewy, flavorfully spiced, and pleasantly thick. In my opinion, they are by far the wow-factor of this dessert. The ice cream is yummy, but the because it is lower fat (made with 1% milk) it is not as smooth and creamy as normal ice cream. For a more health conscious option, I think it is good; otherwise I would not have posted it. However, if I made these again, I would personally just prefer the full-fat deliciousness of ice cream. If you would like to do the same, here is a traditional custard based pumpkin ice cream recipe I would recommend instead.  David Lebovitz's Pumpkin Ice Cream


Pumpkin Spice Cream:
Adapted from Cooking Light's Pumpkin Spice Cream, September 2002
Ingredients:
1 1/2 C low-fat (1%), divided
2 TBSP dark brown sugar
2 large egg yolks
1 (14 oz.) can full fat sweetened condensed milk
1 TSP vanilla extract
1/4 TSP ground nutmeg
1/4 TSP ground ginger
1/4 TSP ground cinnamon
Dash of salt
1 (15 oz.) can pumpkin puree, divided
8 oz. full fat sour cream

1. In a medium sauce pot, combine 1 cup of the milk and the brown sugar, until the sugar is dissolved and bubbles are just beginning to form around the sides of the pot (do not let the milk boil). Remove from heat.
2. Whisk the yolks together, and then slowly add the milk into the egg yolks, whisking constantly, make sure not to cook the eggs in the process. You can use a hand mixer on the lowest speed for this.

3. Pour the mixture back into the pot, place it over medium heat, and whisking constantly, let the mixture thicken until it coats the back of a metal spoon (about 4 minutes). Strain the custard through a sieve and discard any solids that may have formed.
4. In a separate mixing bowl, combine the sweetened condensed milk, vanilla extract, spices, and salt. Then stir in 1 cup of the pumpkin puree.
5. Slowly add in the custard, whisking constantly during the process.
6. Pour into a container and chill the ice cream base for at least 8 hours.
7. After the chill period, mix together the sour cream and remaining pumpkin puree, until thoroughly combined.
8. Add the sour cream mixture to the ice cream base, mixing the two together and then freeze the mixture according to your ice cream maker's instructions.

Whole Wheat, Nonfat Gingersnap Cookies:
Barely adapted from David Lebovitz's Nonfat Gingersnaps
Oven Temp: 350 F
Ingredients:
1 C packed dark brown sugar
1/4 C applesauce
1/3 C molasses
1 C all-purpose flour
1 1/4 C whole-wheat flour
3/4 TSP baking soda (at sea level, use 1 TSP)
2 1/2 TSP ground cinnamon
1 1/2 TSP ground dried ginger
1/4 TSP nutmeg
1/2 TSP ground black pepper
1/4 TSP salt
2 large egg whites, at room temp.

1. In stand mixer with a paddle attachment, beat together the brown sugar, applesauce, and molasses for 5 minutes on medium speed. Scrape down the sides once in the middle, and once at the end.
2. Meanwhile, sift together the flours, baking soda, spices, and salt.
3. Add in the egg whites to the brown sugar mixture and beat for one minute.
4. Turn the mixer down to the lowest speed and slowly add in the flour until it is fully incorporated, then continue to mix for one more minute.
5. Transfer the dough to an airtight container and refrigerate for 8-24 hours.
6. After the chill time, remove the dough and preheat the oven.
7. Scoop and roll the dough into 1 inch rounds. Then roll the dough balls around in sugar. Place them evenly apart with room to spread on a cookie sheet and gently press each ball down with your fingers.
8. Bake the cookies for 9-10 minutes until the centers are just beginning to set. You want to watch these carefully and pull them on time so they stay soft and chewy.
9. Let the cookies cool completely on a metal rack, then transfer them into a zip lock bag into the freezer to prepare them for ice cream sandwich assembly.
Final Steps:
When the cookies have frozen and the ice cream is set, take two cookies and scoop a small round of ice cream into the middle of one. Place the second cookie on top and gently press down.
Quickly wrap the cookie sandwich in plastic wrap and place it back in the freezer until you are ready to eat it.
Proceed again until all the cookies sandwiches are made and safely in your freezer. Enjoy!